School Locker Makeover
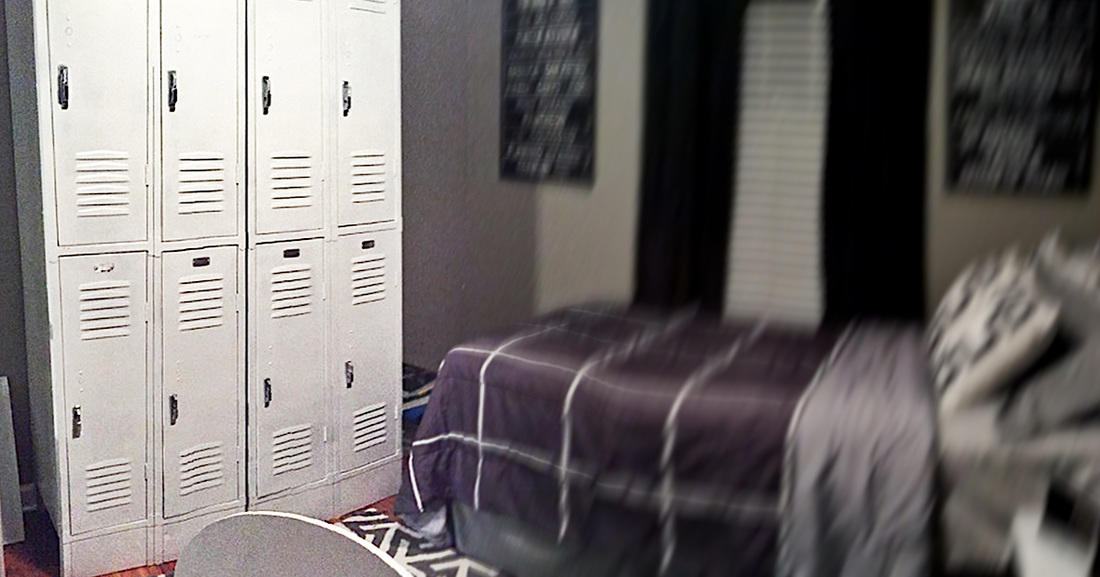
Salvaged school lockers can make trendy closets in small spaces. With a small budget and a little elbow grease, they take on a chic new style.
story and photos by Holly Raymond
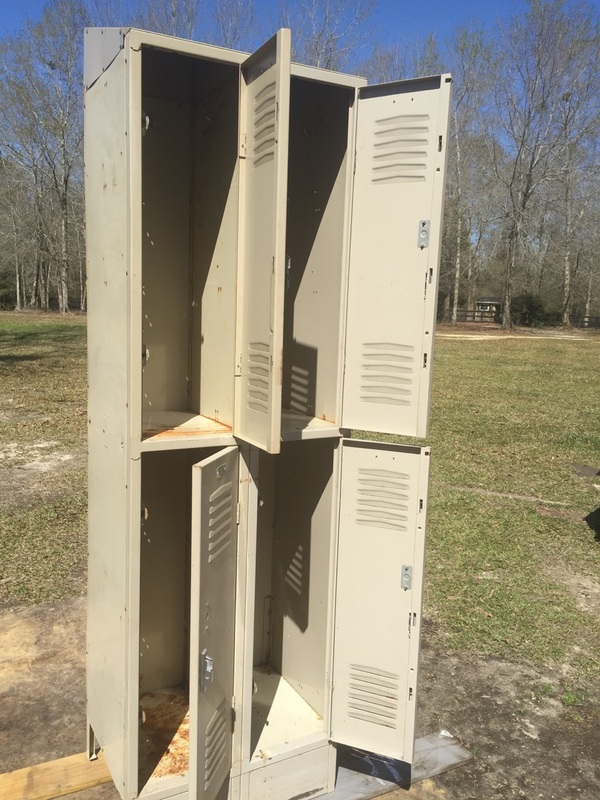
So I did what I love to do: I went shopping! I searched high and low through thrift stores, antique shops, and other places. I searched to find something small enough to fit in his tiny room while providing adequate space for storage of school clothes, sports gear, and whatever else.
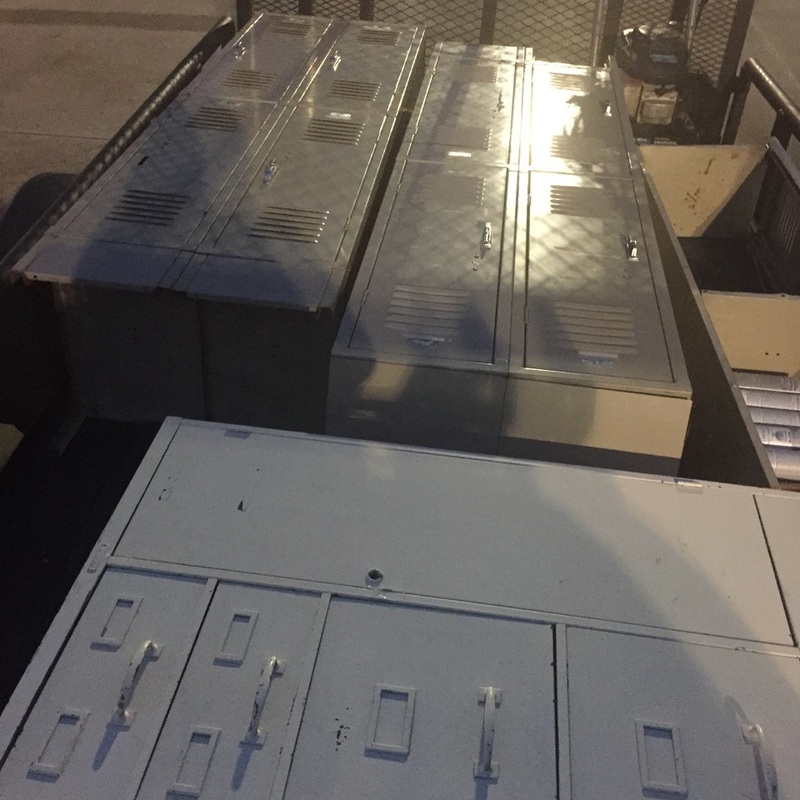
My good friends Chuck Underwood and Glenn Hood own a cute little shop in Waveland called Treasures of the Bay (If you’ve never been, you need to go and tell them Holly sent you), so I thought I’d stop and say hello and see if they had anything that would fit. SCORE! Treasures of the Bay had the perfect solution to our tiny space storage problem: LOCKERS! Old-school gym lockers. WHAT A FIND! I knew this would be a 3-pointer in my son’s eyes! Now to get them home. I called Leo, my wonderful husband, and he came to my rescue with a trailer in tow. We loaded the lockers up and moved them out.
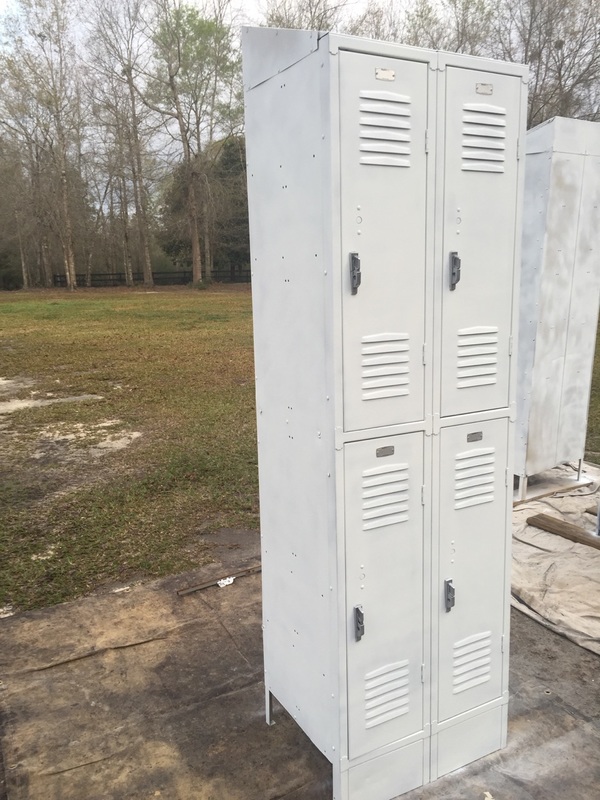
Here’s how I transformed those old school gym lockers in to the perfect storage space for my son.
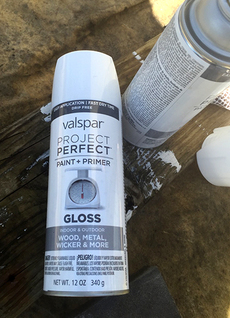
Supplies: - Lockers (Treasures of the Bay may not have any more. I think I bought them all!) - Sand paper for sanding metal - Mouse Sander - Goo Be Gone - Spray Paint — Color of your choice; I used white, high-gloss Valspar with Primer - Decorations of choice - All-Purpose Cleaner - Rags - Tarp - Clear Coat (if desired) - Paint Mask *** And if you wear false eyelashes, you may want to invest in goggles or you’ll look like you went through a snow storm and will have to pull them out! (Um, I cannot confirm or deny that I may or may not have learned that lesson the hard way!) *** Let's Get Started
First, find your lockers. The best places to look are antique shops and thrift stores. Once you’ve found the perfect lockers and gotten them home, you will most likely need to clean them up.
Air them out! (Don’t want any lingering tuna sandwich smells!
Wipe them down!
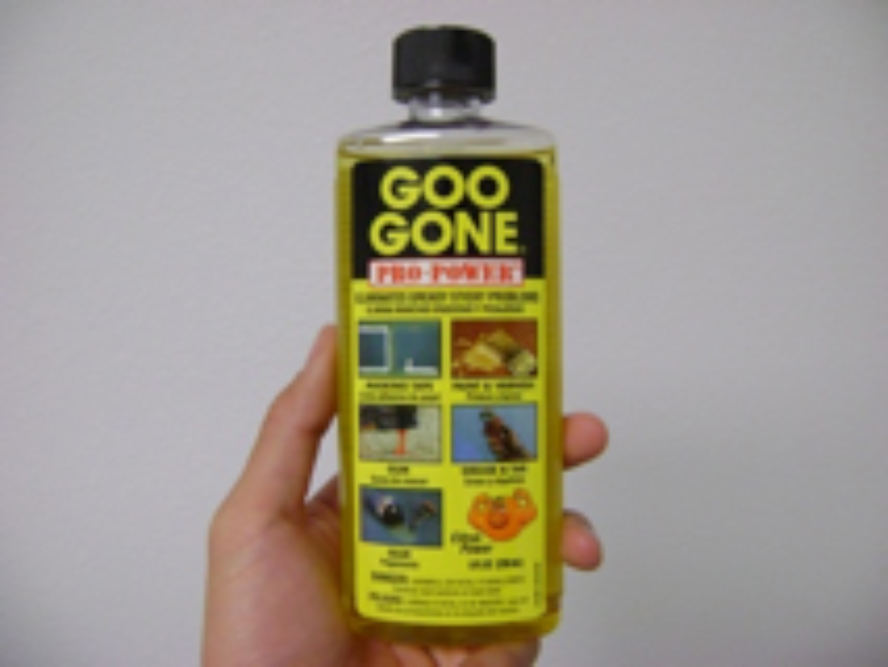
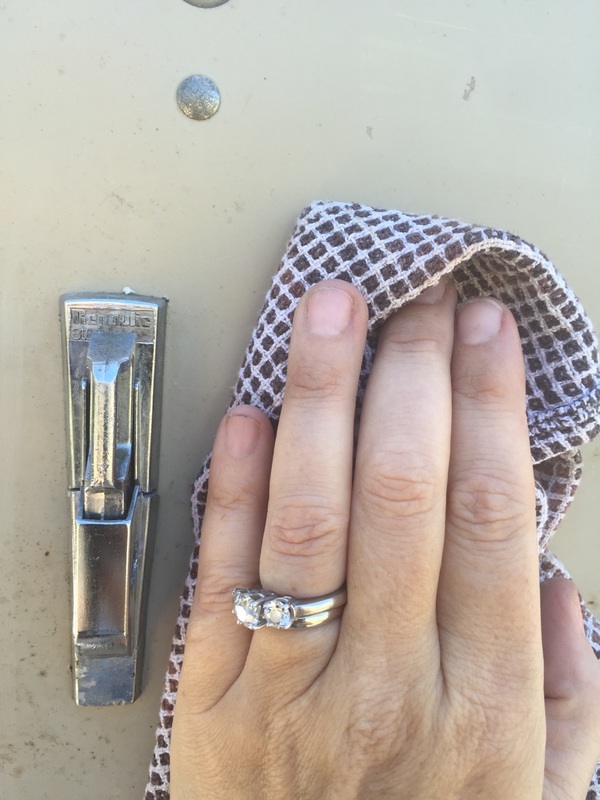
Wipe them down (or hose them off) with all-purpose cleaner. Let them dry completely before you move on to the next step. We had to use some Goo-Be-Gone to remove the old tape, stickers, and pin-up girls. (Yes, I removed pin-up girls from my son’s new-to-him lockers!)
Prep for paint!
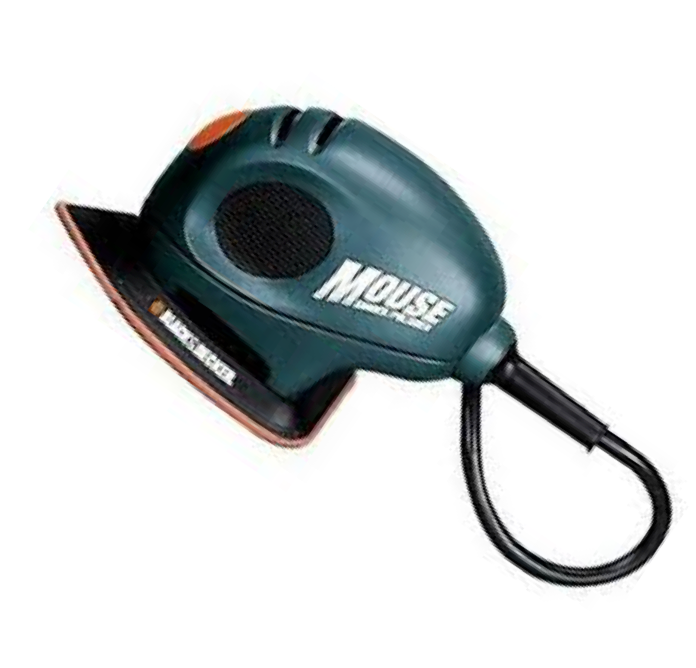
Once all the tape, stickers, and pin-up girls are gone it’s time to start adding some character. Lightly sand the lockers with the handy-dandy mouse sander. Don’t be afraid to keep the small dents and nicks. These will enhance the beauty of the lockers upon completion.
It’s time for paint!
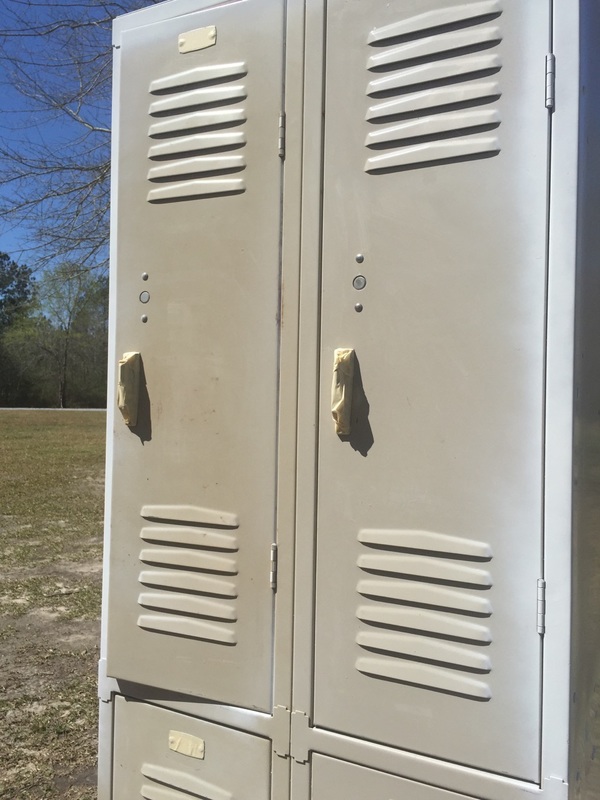
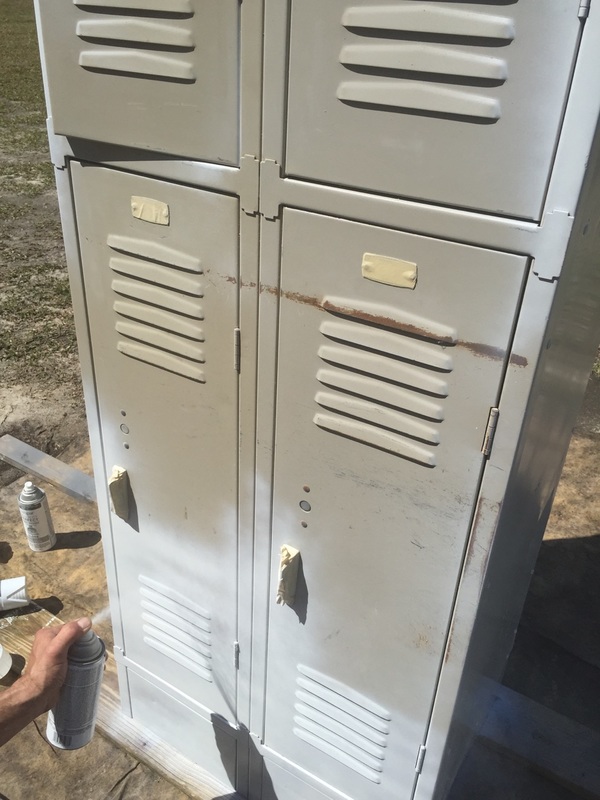
Spray a coat of paint with primer, and dry for 1-2 hours. Spray a second coat, and again let dry for 1-2 hours. Repeat one more time for three coats of paint. Don’t forget to spray the inside. (You may find yourself standing on your head and hoping it’s not too late to put on those goggles!) Be creative! These lockers can be decorated with stickers, pictures, or whatever for that personal touch. Optional clear coat can be added when that’s all done. Then Enjoy your new lockers!
Be sure to check out our column in August, when I’ll tell you how I made my own above ground garden! Thanks for stopping to read about Beautiful Things. See you next month!
Comments are closed.
|
Categories
All
Archives
July 2024
|
Shoofly Magazine Partners
Our Shoofly Partners are local businesses and organizations who share our mission to enrich community life in Bay St. Louis, Waveland, Diamondhead and Pass Christian. These are limited in number to maximize visibility. Email us now to become a Shoofly Partner!







 RSS Feed


