
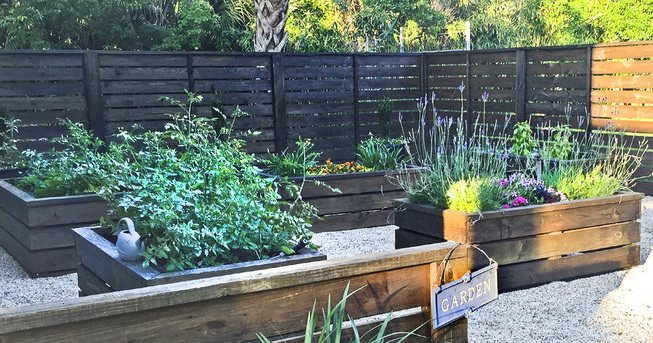
DIY Pallet Garden Boxes
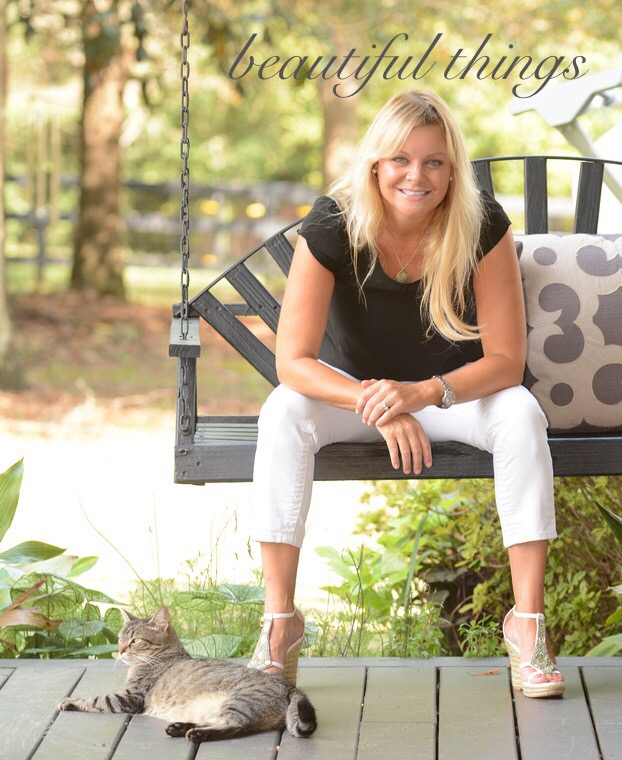
Holly Lemoine-Raymond shows how to make raised garden beds from recycled pallets - in just a few hours.
Whatever your reason for wanting an above ground garden, I hope you will enjoy the ease of building one of your very own. The supplies you’ll need are listed below.
Let’s get our hands dirty!
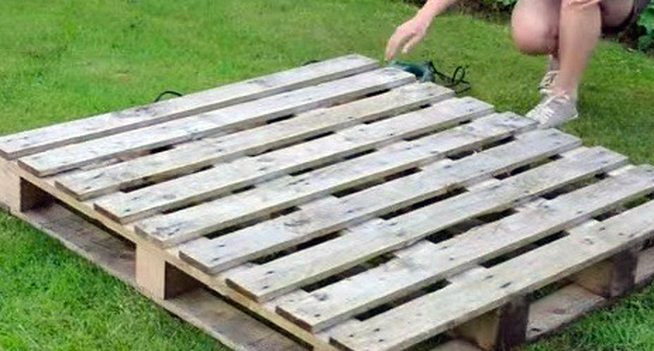
You may want to start with prepping your pallets. I stained my pallets with an espresso colored stain, but you can leave yours natural or paint it whatever color you’d like. It’s your pallet. If you do decide to paint or stain the pallet(s) be sure to use an environmentally safe exterior paint that can withstand water seeping through the landscape fabric and soil.
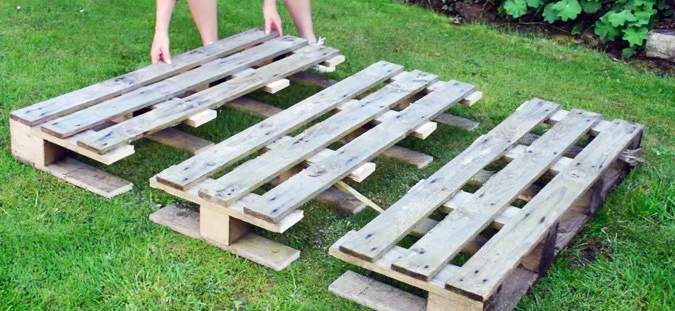
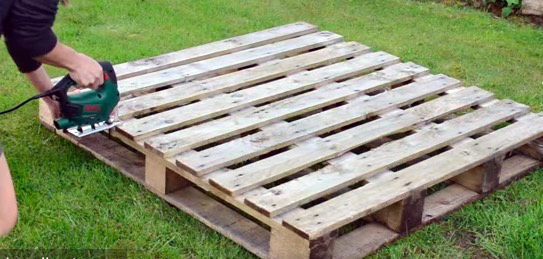
Step 1. Using your Miter saw cut the pallet in three equal pieces.
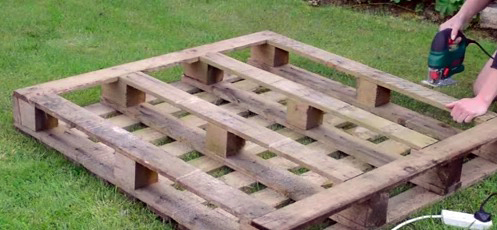
Step 2. Disassemble your pallet(s).
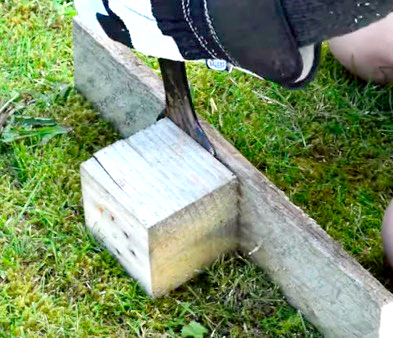
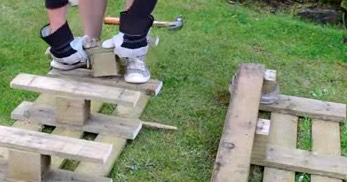
Step 3. Detach the blocks from the slats taken from the middle piece
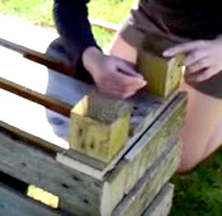
Step 4. Build your garden box
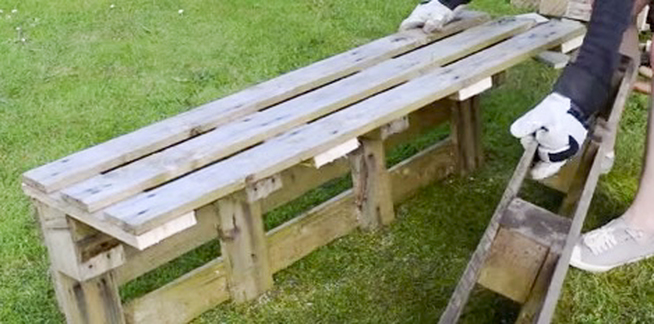
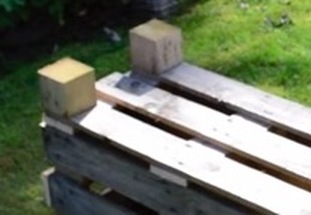
Step 6. Cap the ends of your box with the leftover slats using the pieces left over from blocks.

Step 6 - Attach the feet
Step 8. Prepare for planting!
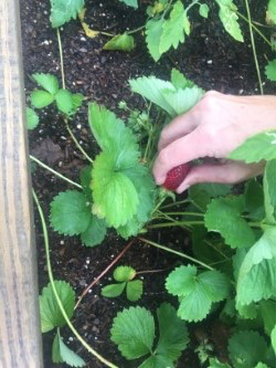
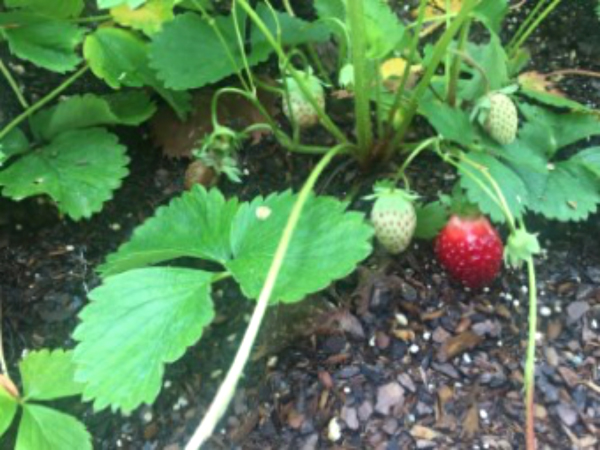
Once the pallet box is assembled you will need to place the landscaping fabric inside the box and secure it with staples. (I highly recommend using a staple gun if you have one.) Now that you have the box prepped, it’s time to add the soil. I used a mixture of planting soil and compost to fill my beds. With a rake and a light sprinkling of the garden hose make sure to smooth out the mixture. You are ready to plant some seeds. What you plant in your raised garden bed is up to you. Remember that whatever you plant will have different needs for lighting, shade, water, nutrients, and daily care. So placement of your garden box is essential. Something else you may want to consider is how much space your plants will need. Make sure you read (the seed package) before you seed! Know which plants will require deeper and/or wider rows. In one box I have tomatoes and strawberries. In another box I have herbs and lavender. I have six raised garden boxes filled with different plants for my family to enjoy. Check out my first harvest of strawberries…. I can’t wait to watch my garden grow!
Thank you for reading our column. I hope you enjoyed learning how to create your very own raised garden! Even more, I hope you will enjoy building your own and reaping what you sow!
Comments are closed.
|


Categories
All
Archives
July 2024
|


 RSS Feed
Shoofly Magazine Partners
Our Shoofly Partners are local businesses and organizations who share our mission to enrich community life in Bay St. Louis, Waveland, Diamondhead and Pass Christian. These are limited in number to maximize visibility. Email us now to become a Shoofly Partner!
|
|

|
|
|
|
|

|
|

|
|
|

|
|
|
|
|

|
|
|
|
|
|
|
|
|

|
|
|
|

|