|
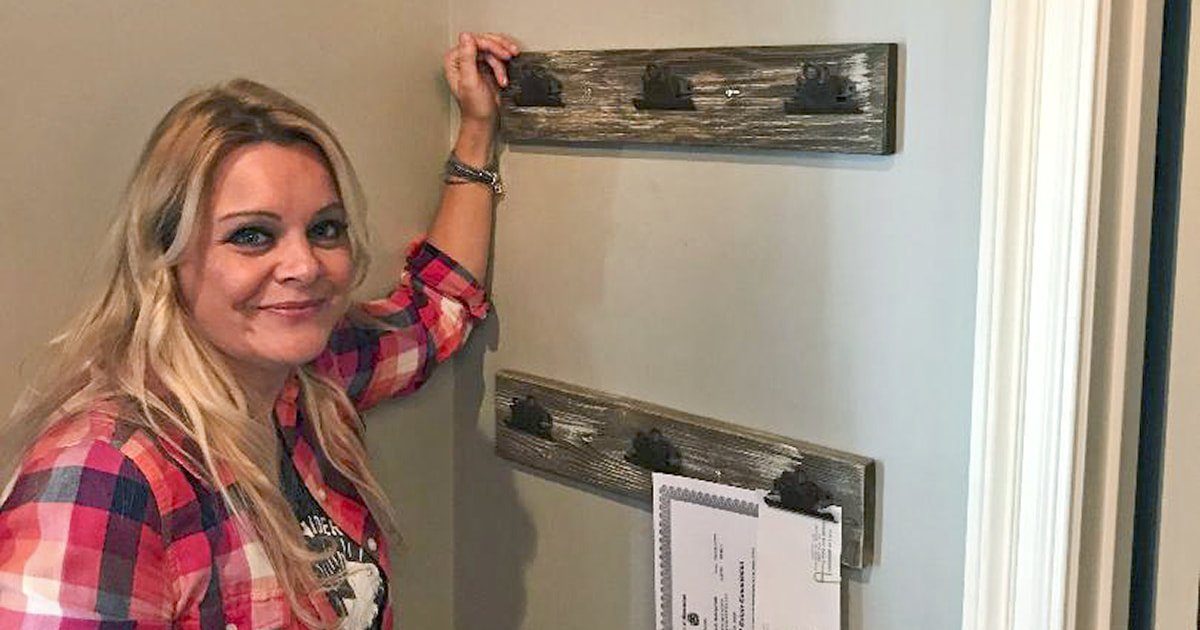
Beautiful Things - Nov/Dec 2017 Design diva Holly Lemoine-Raymond walks you through creating a fun messaage board that does double-duty: during most of the year it holds notes, but during the holiday season, it's a great way to display your cards.
Materials:
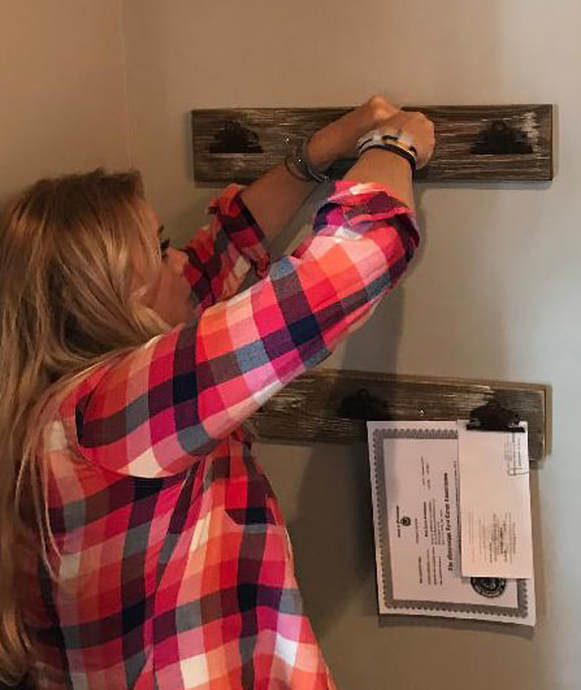
Step 1: Measure and cut your boards. You might want to measure twice and cut once. I have a tendency to jump in and eyeball the cuts. Take it from me; this creates extra work for you. Step 2: Once you have measured and cut your boards you can stain your boards with the color of stain you prefer. Let the first layer of stain dry. Step 3: Take your 220 Grit sand paper and lightly sand your board(s). You will notice the stain has soaked in to some areas a bit more than others and the sanding process will bring out some of the woodgrain and creates some character. Step 4: Add another coat of stain and immediately wipe it off with a small rag. (I use my husband’s old t-shirts and cut them in to 4x4 squares.) This will enhance the richness of the stain. Step 5: Once the second coat of stain has dried you will apply the Milk Paint. Keep your rag handy (no pun intended) because you will apply and wipe. This adds that worn, weathered look. Step 6: Now that you’ve got your board stained, sanded, and white washed, it’s time to place your rustic clips. Warm up your hot glue gun. Place your clips equal lengths apart and glue the clips in place. (I screwed mine in to the board but you can glue them much more quickly. There you have it. Hang your board in the location you have picked out and post your important messages, display your favorite pictures, or hang your Christmas cards.
Thanks again for reading Beautiful Things. Can’t wait to tell you about the next project we have for you! Comments are closed.
|
Categories
All
Archives
July 2024
|
Shoofly Magazine Partners
Our Shoofly Partners are local businesses and organizations who share our mission to enrich community life in Bay St. Louis, Waveland, Diamondhead and Pass Christian. These are limited in number to maximize visibility. Email us now to become a Shoofly Partner!
















 RSS Feed


