
DIY Diva Holly Lemoine-Raymond gives step-by-step instructions for a weekend project that's easy - as well as uplifting!

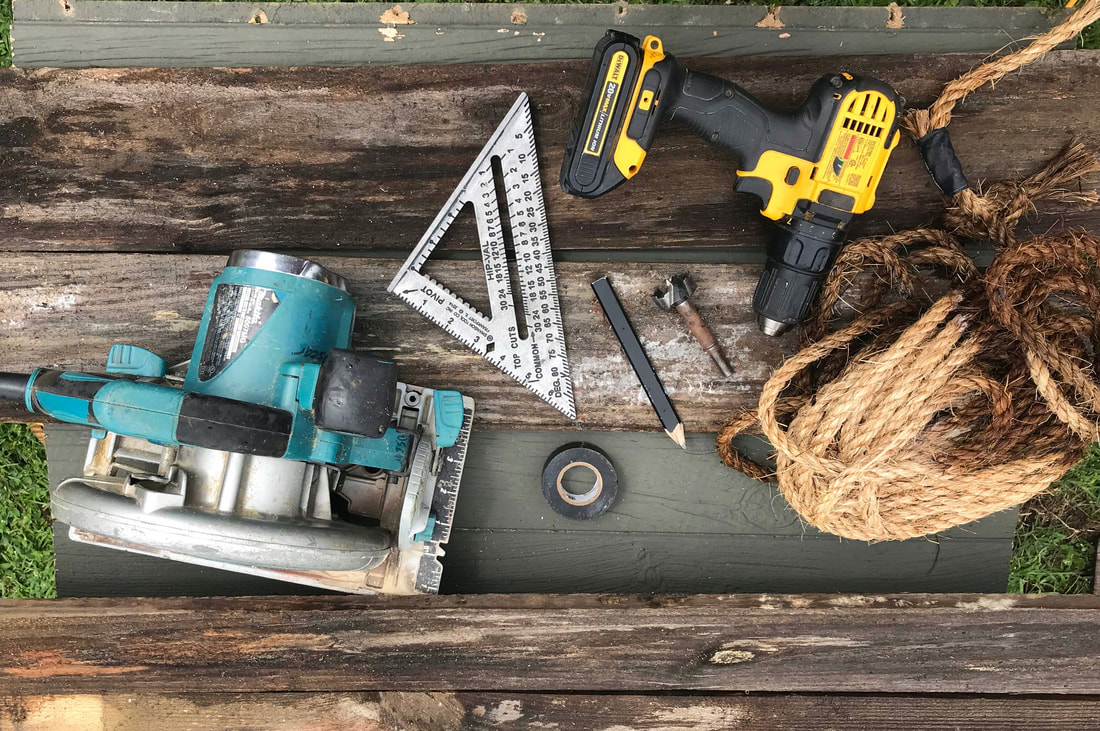
Supply List
Step One
Cut two equal lengths of rope. The height of the limb will determine the length of the rope. You’ll want to make sure the seat hangs at least 20 inches from the ground and you have enough rope to wrap the rope around the limb two or three times. Manila rope is super durable.
Step Two
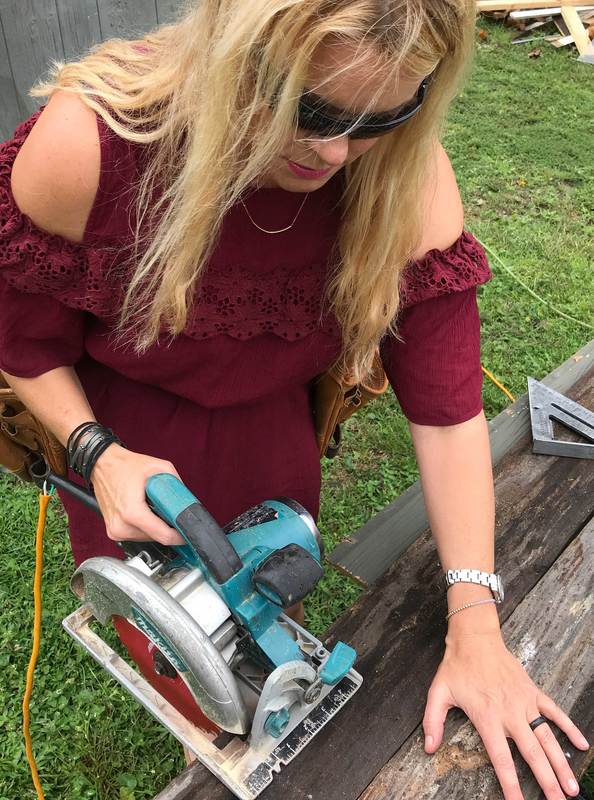
Measure and cut the seat. I used a 2x8 piece of recycled wood. I cut it at 4 feet, small enough for a child yet comfortable enough for an adult. Don't forget, measure twice and cut once.
Step Three
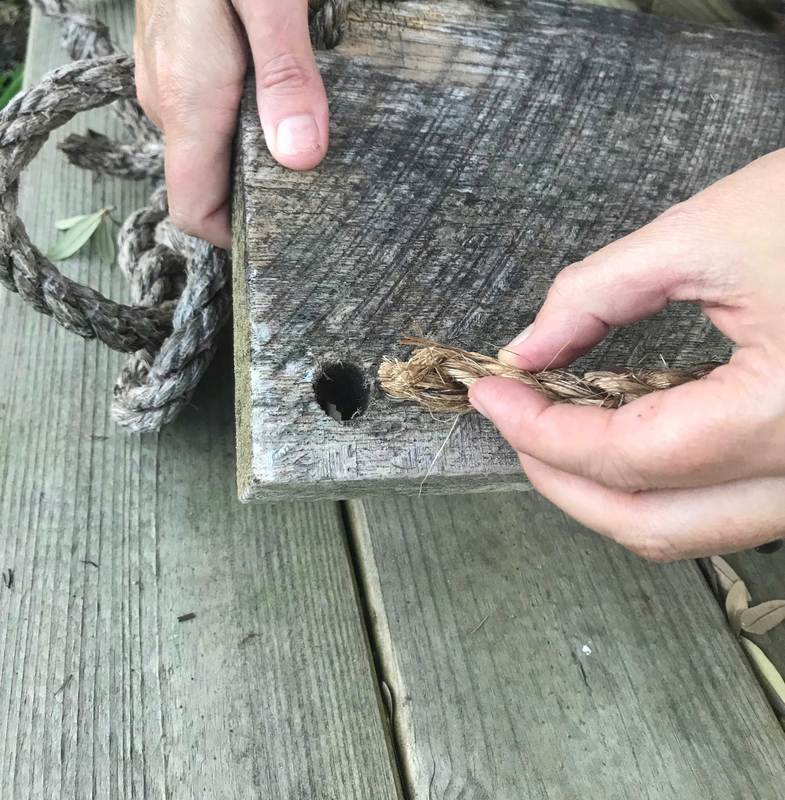
Once the seat has been cut, you will need to decide where your rope holes will go. Holes should be evenly spaced at each corner. I drilled the holes for my swing about 1/2 inch in.
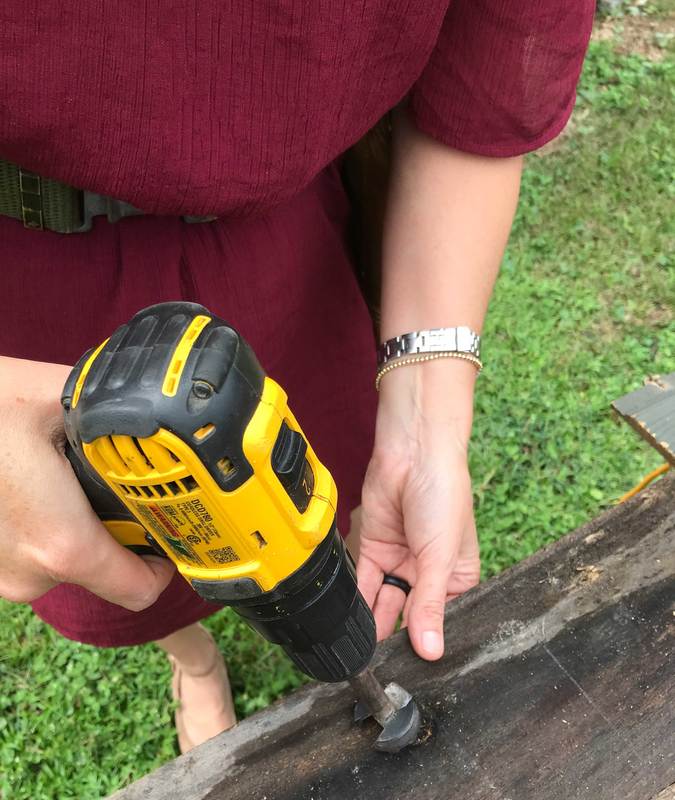
Using a drill with the Spade Bit drill four holes in the corners of the seat. The holes need to be big enough to put the rope through.
Step Four
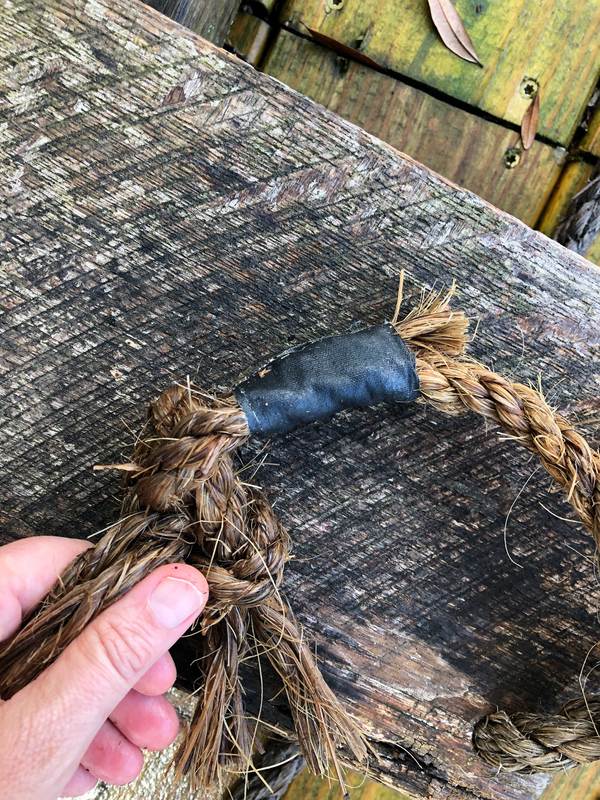
Wrap the ends of the rope to keep them from fraying. (You can also burn the ends but why play with fire when there are other ways to make it work?) Poke the ends of the rope through the holes in the seat.
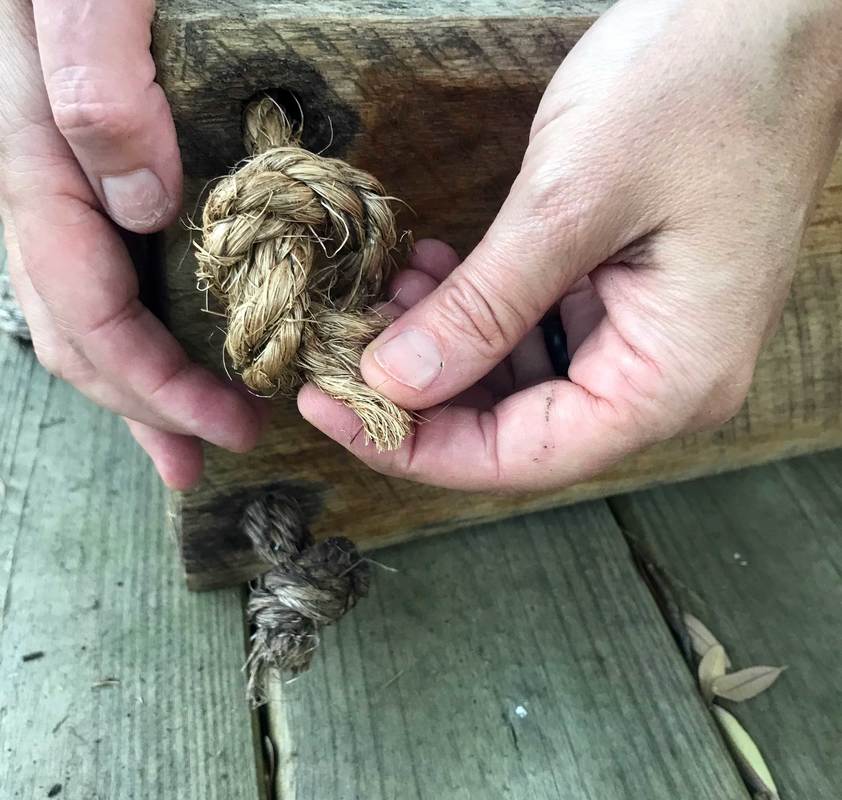
Step Five
Tie the ends of the rope into an “Ashley Stopper Knot”. This knot is a bit complicated for me to explain. I had a great friend and fireman who was kind enough to lend his services to not only climbing the tree to wrap the rope around the limb, but to also tie the knots… (Thanks John Glidden!)
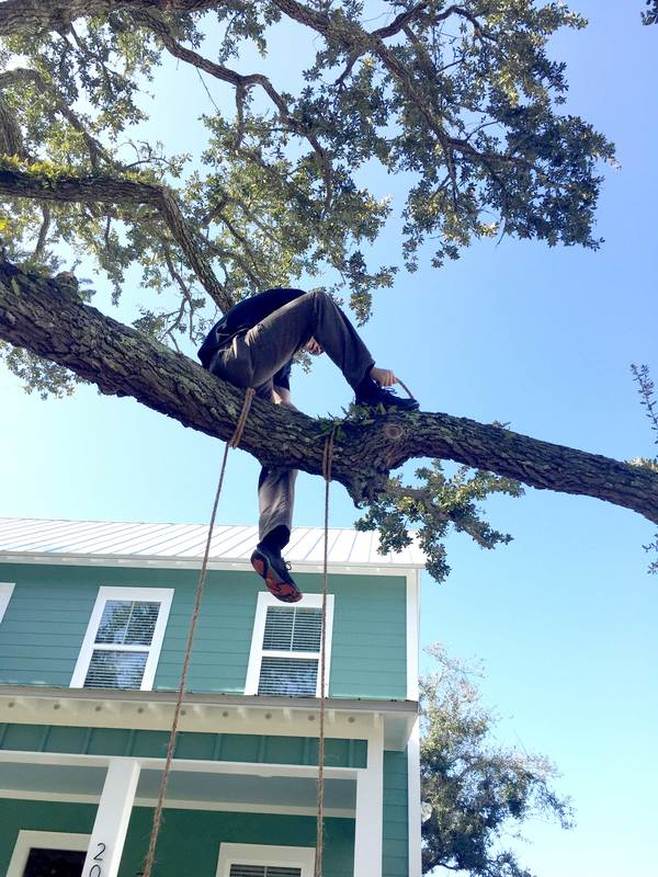
Step Six
Now swing! My model is my beautiful niece Kennedy Aaron.

Thank you all for stopping by to read my DIY, Beautiful Things. I hope this quick tree swing project brings you years of enjoyment!
Comments are closed.
|


Categories
All
Archives
July 2024
|

 RSS Feed
Shoofly Magazine Partners
Our Shoofly Partners are local businesses and organizations who share our mission to enrich community life in Bay St. Louis, Waveland, Diamondhead and Pass Christian. These are limited in number to maximize visibility. Email us now to become a Shoofly Partner!
|
|

|
|
|
|
|

|
|

|
|
|

|
|
|
|
|

|
|
|
|
|
|
|
|
|

|
|
|
|

|