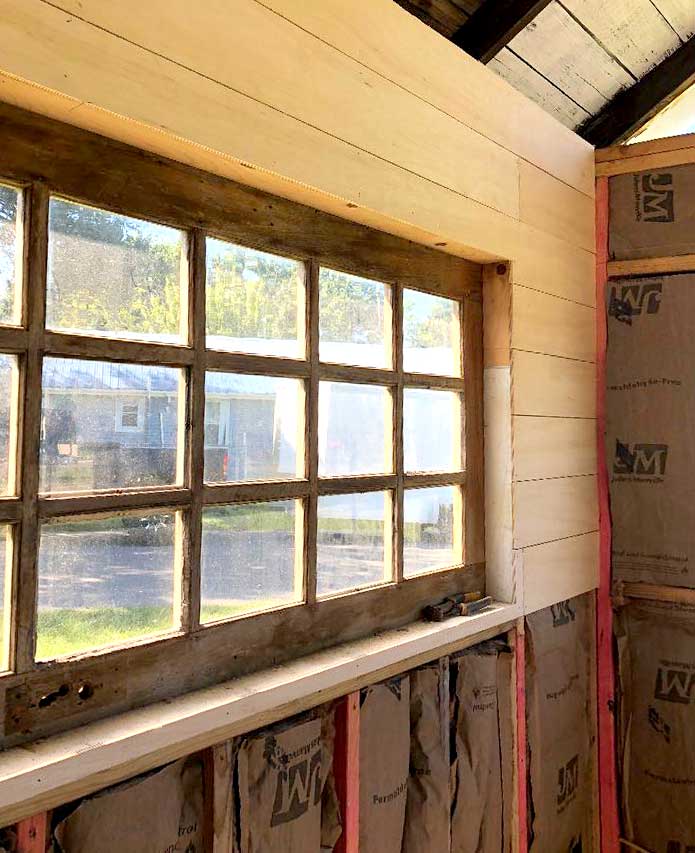
Want to break away from dry-wall and create a more interesting wall - on a budget? Break out the elbow grease and hang with DIY Diva Holly Lemoine-Raymond as she shows how to make your own shiplap siding.
Shiplap is a tongue-and-groove type of plank and it can be pretty expensive. I’m going to show you how to make your own shiplap for a fraction of the cost.
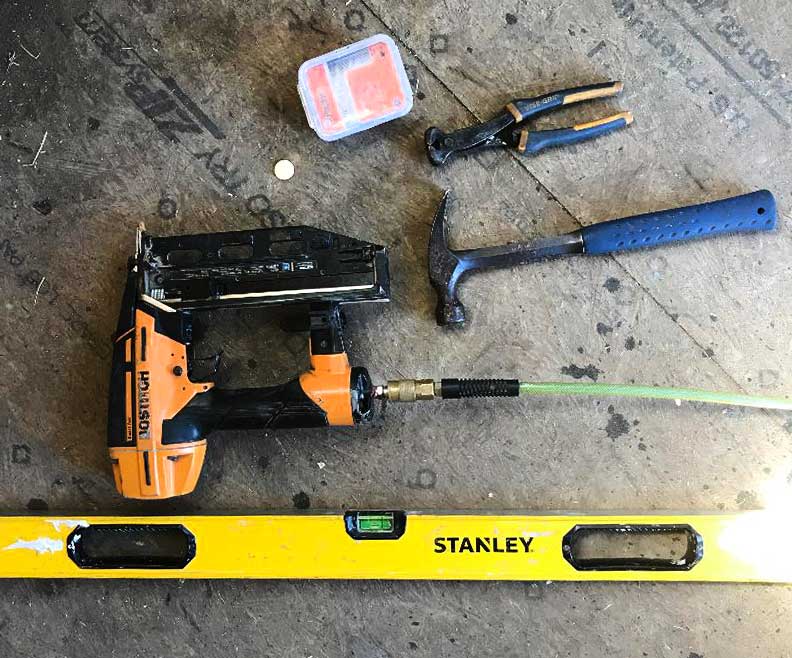
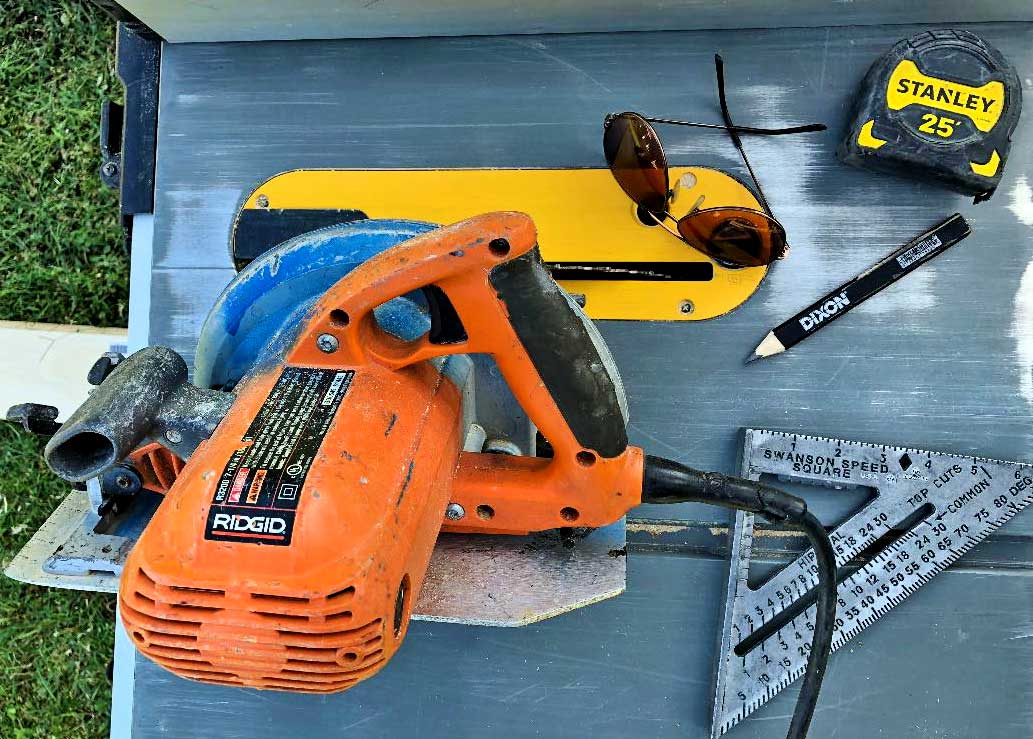
Supplies
Step 1:
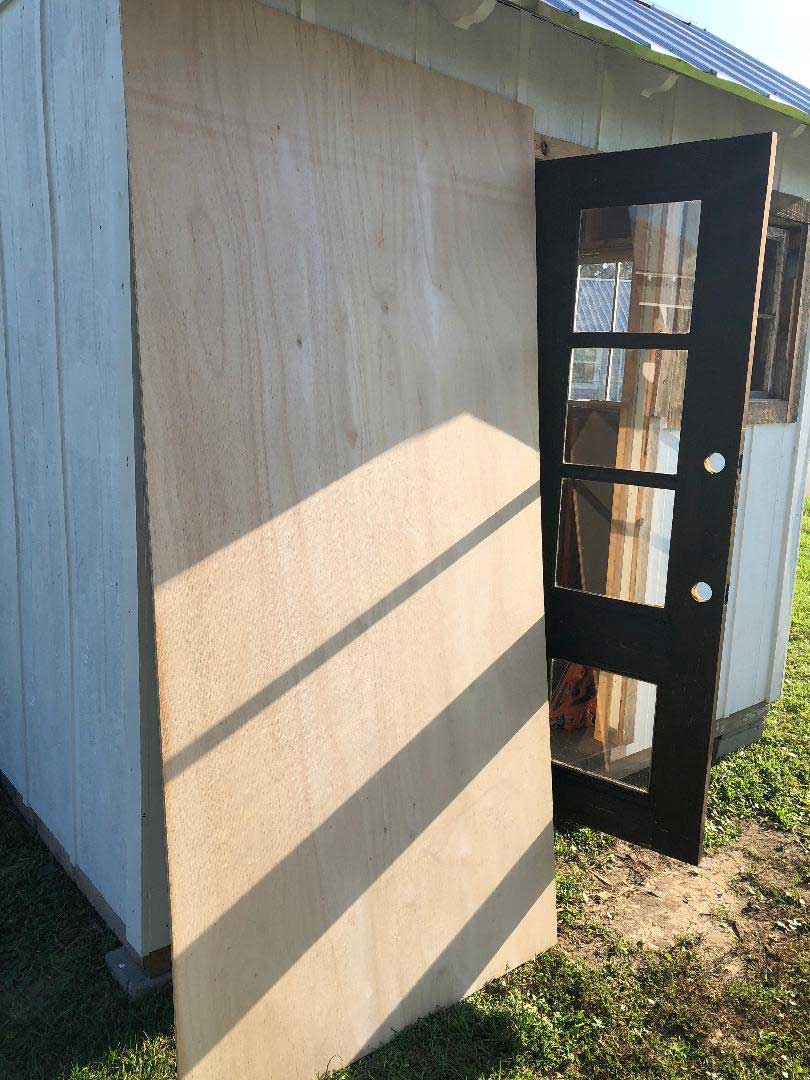
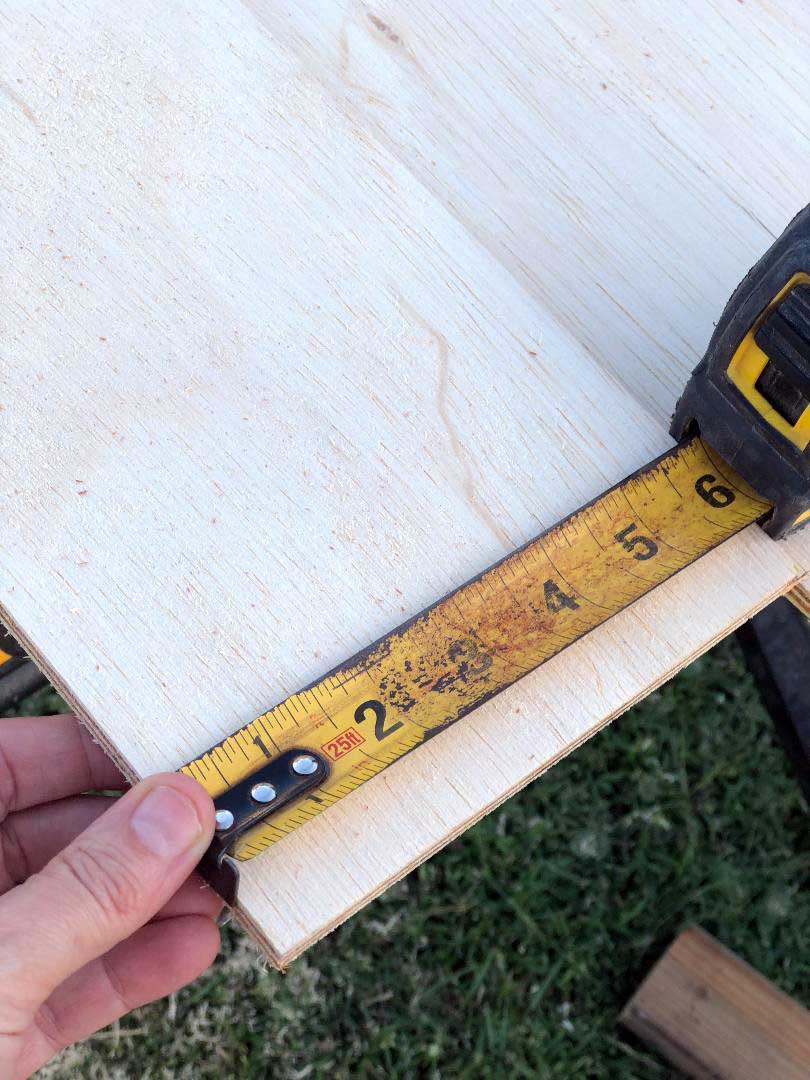
Measure the space you will be covering in shiplap. This will help you determine how much Luan Board to purchase. Remember, always measure twice and cut once!
Step 2:
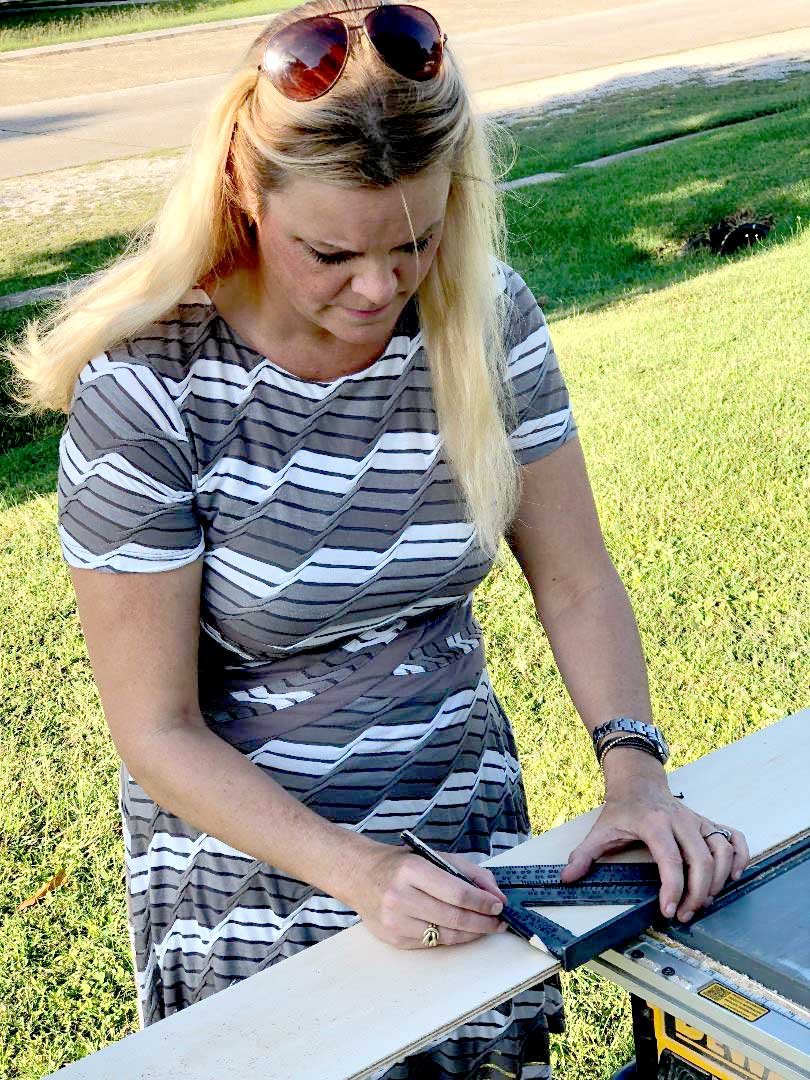
Cut the luan board. I cut my boards to be six (6) inches in width. For the back wall I used the full length of the 4 x 8 cut in six inch strips. If you know your measurements when you purchase your Luan Boards, ask the merchant to cut them for you. Some stores may cut it for free while others may charge a nominal fee. Or, use your table saw and cut your own boards.
Step 3:
Once the 6" strips are cut, it’s time to measure for the length. As noted above, I was able to use the full length of the board on the back wall. However, the side walls, front walls, and around the windows were a bit of a challenge. Measure the length of the space being covered and cut accordingly.
Step 4:
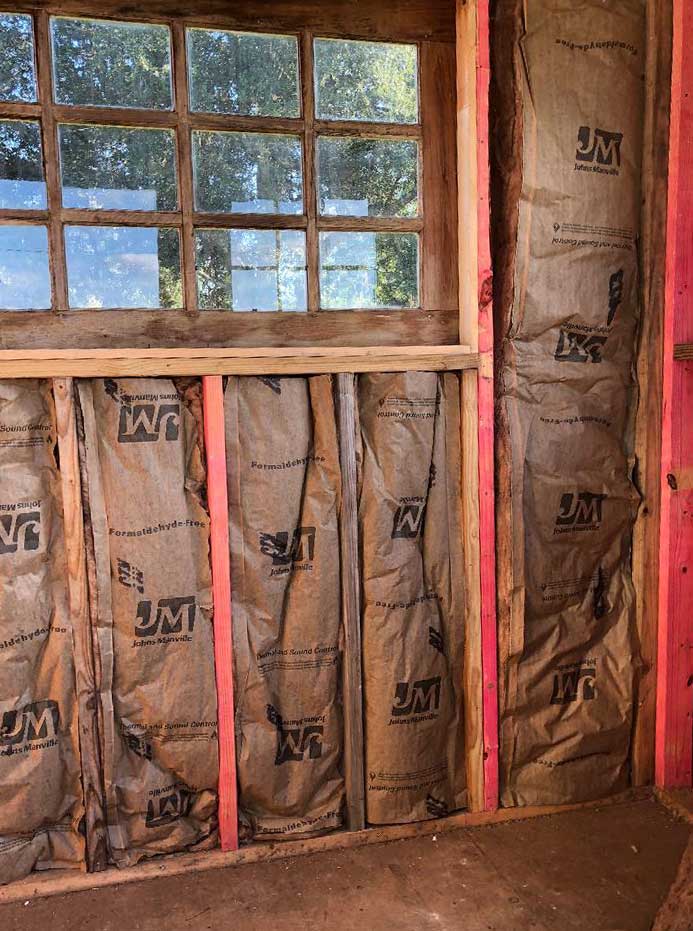
If the edges of the Luan Board you cut are a bit rough, grab that sand paper and smooth it out. It’s time to start putting your boards up. This is where that optional stud finder comes in. Locate the studs and mark them off so you know where to put your nails.
I typically start on the bottom and work my way up. However, with this project I started placing my boards from top to bottom. Step 5:
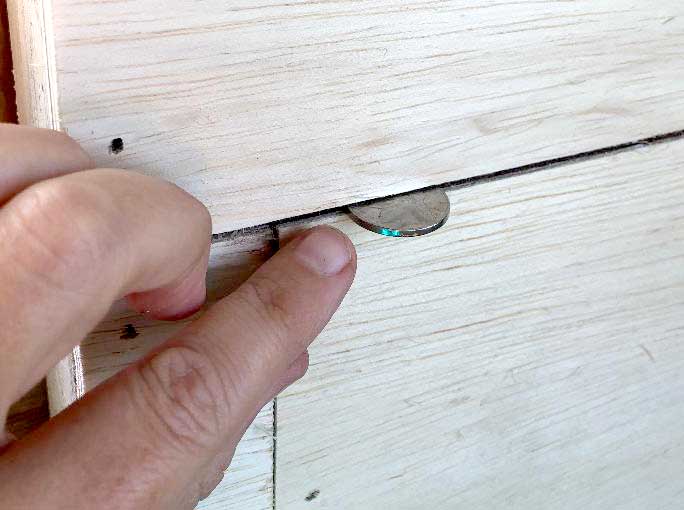
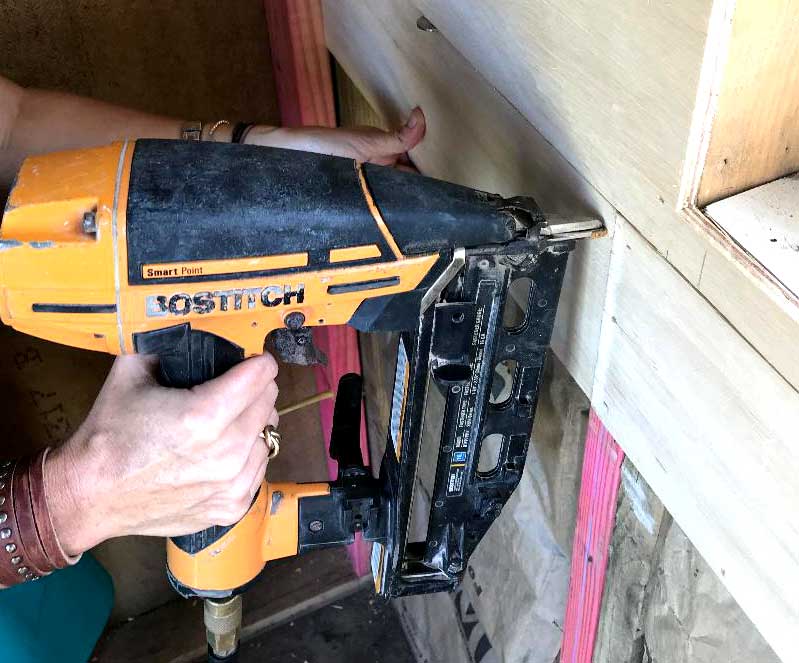
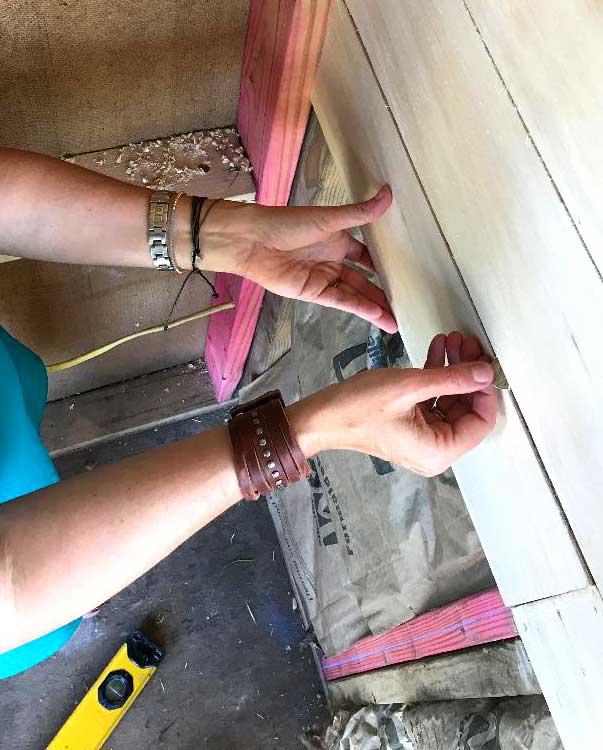
Put your first board where you want it to go and using your nail gun, nail the board in place. Remember those nickels? It’s time to dig them out. Grab your next board and put it in place. Put the nickel in between your first two planks and using the nail gun again, nail plank number two (2).
Step 6:
Continue to use the nickels as spacers, repeating step 5.
Step 7
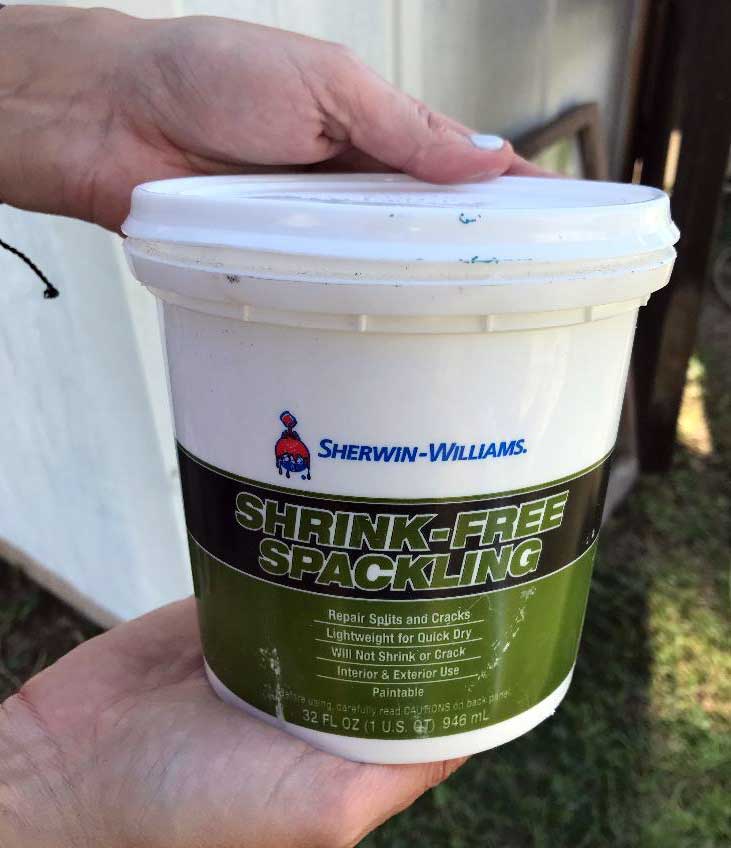
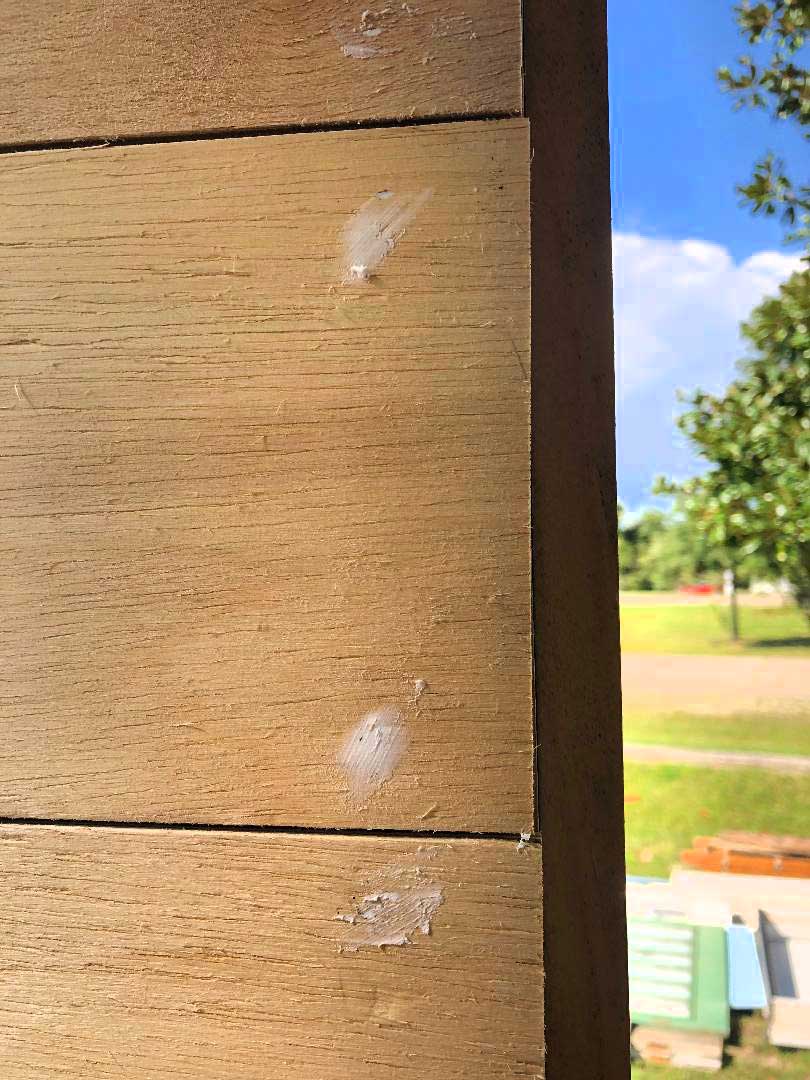
Now that you have your own shiplap wall, you will need to take care of some final touches. Using the spackle, fill in the holes where you put the nails.
Step 8
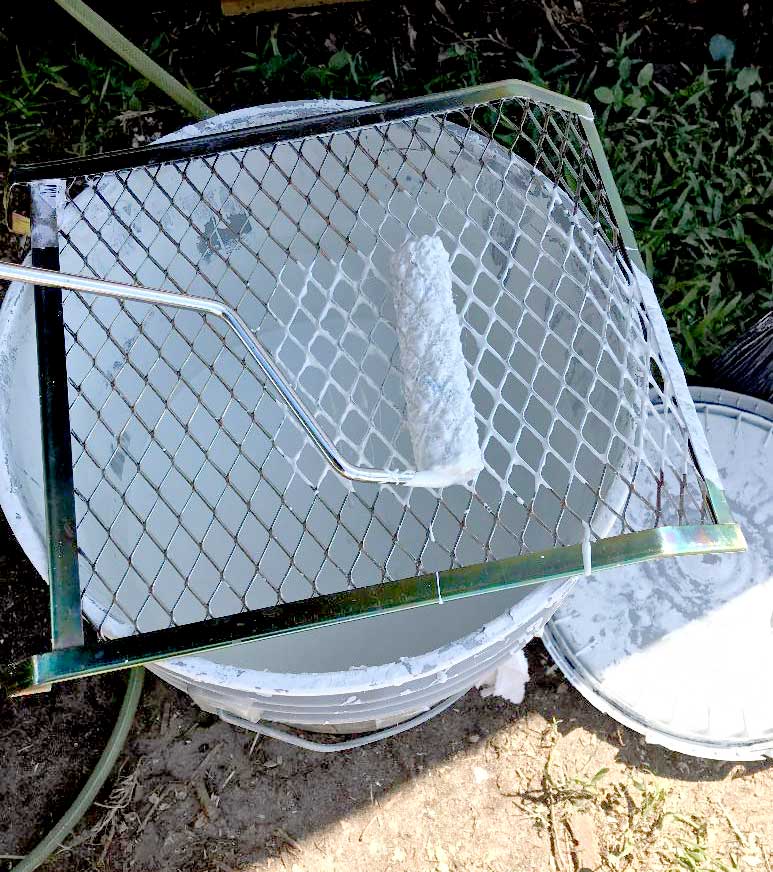
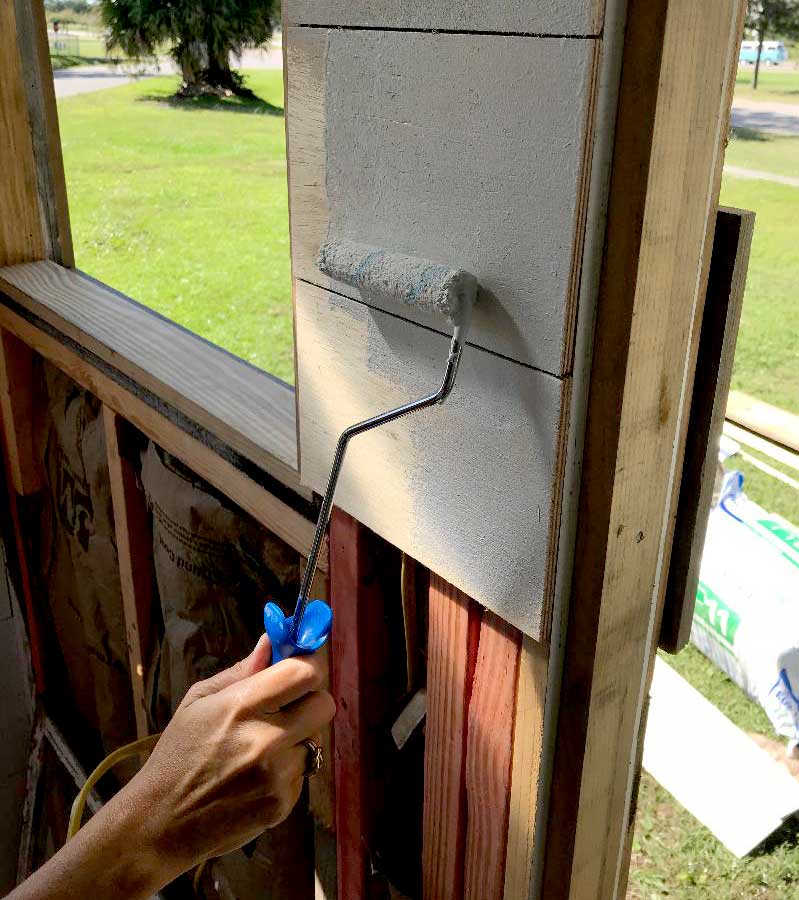
Once the spackle has dried, it is time to paint your shiplap. First, give a quick sandpaper scrub of the spackled holes to smooth the surface.
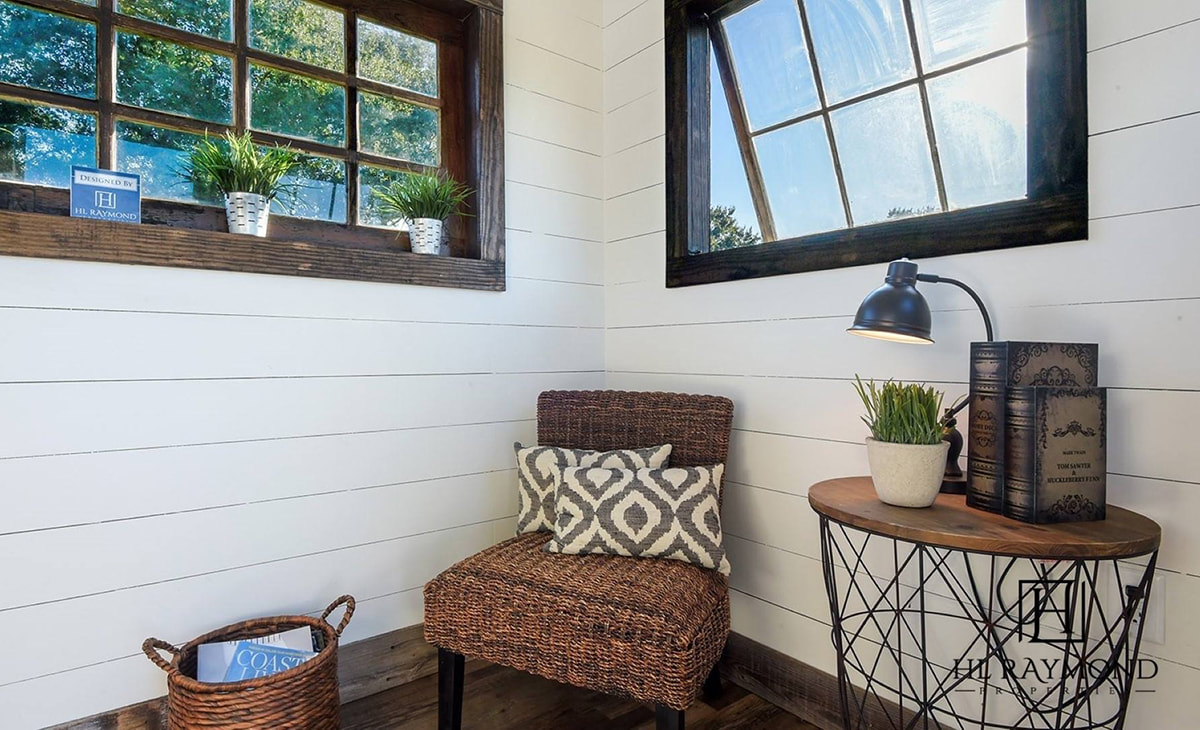
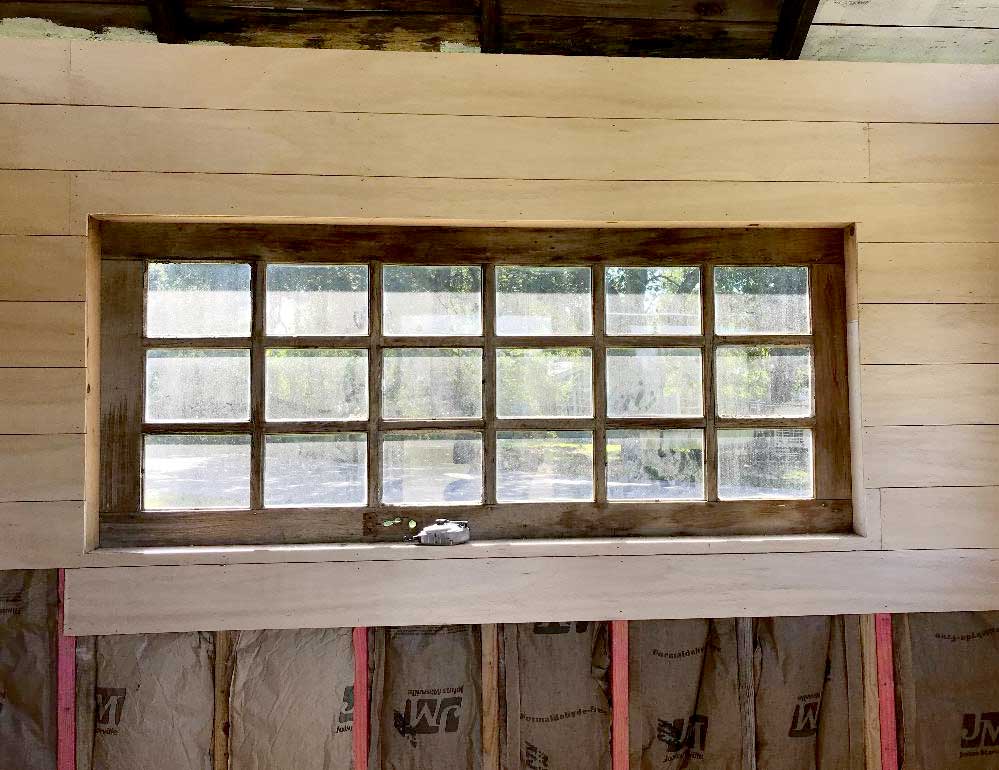
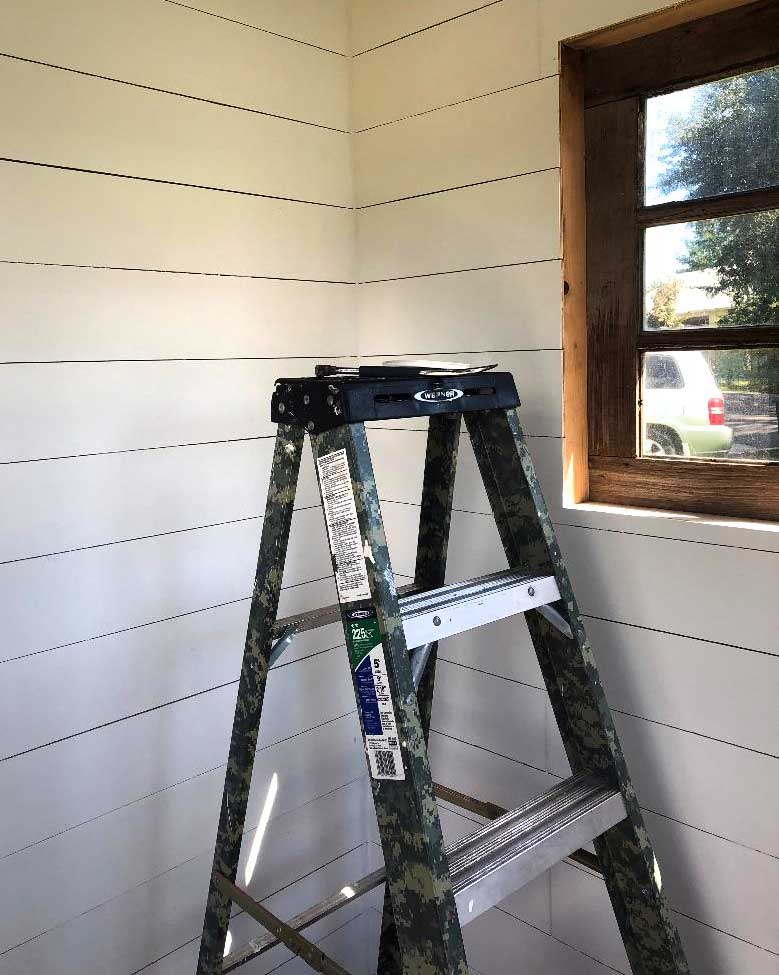
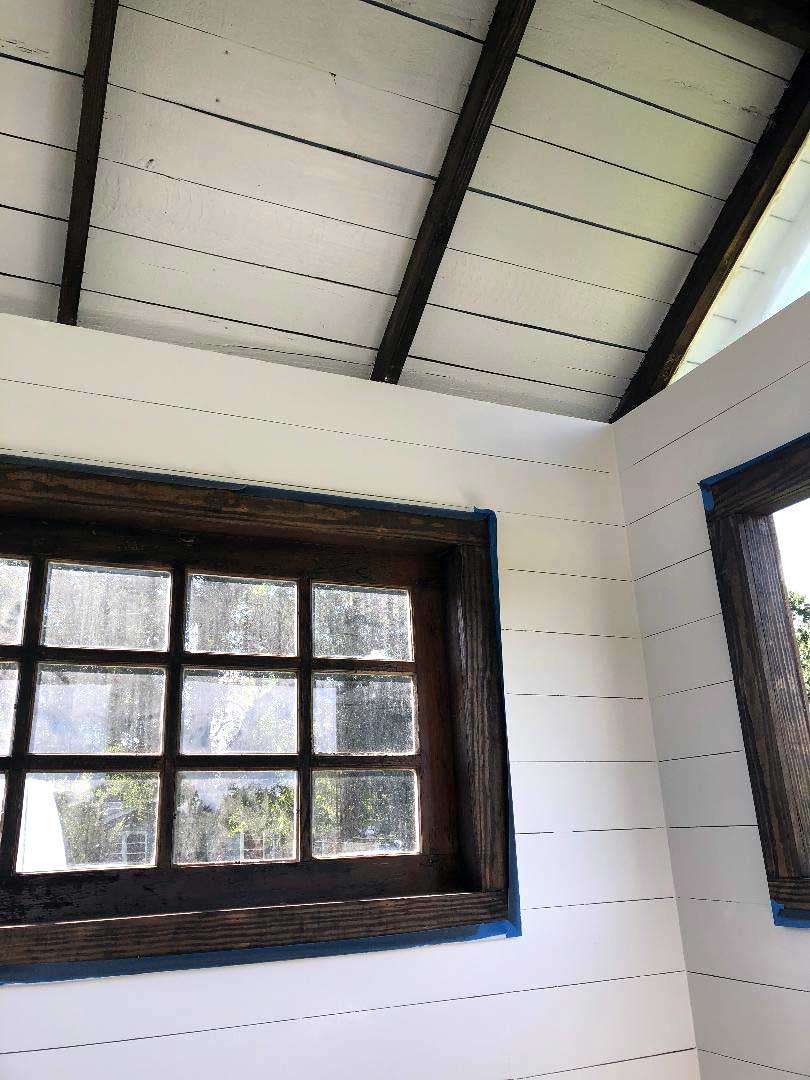
I used a white paint to compliment the dark wooden framed windows. You can use any color you please to match the décor of the room.
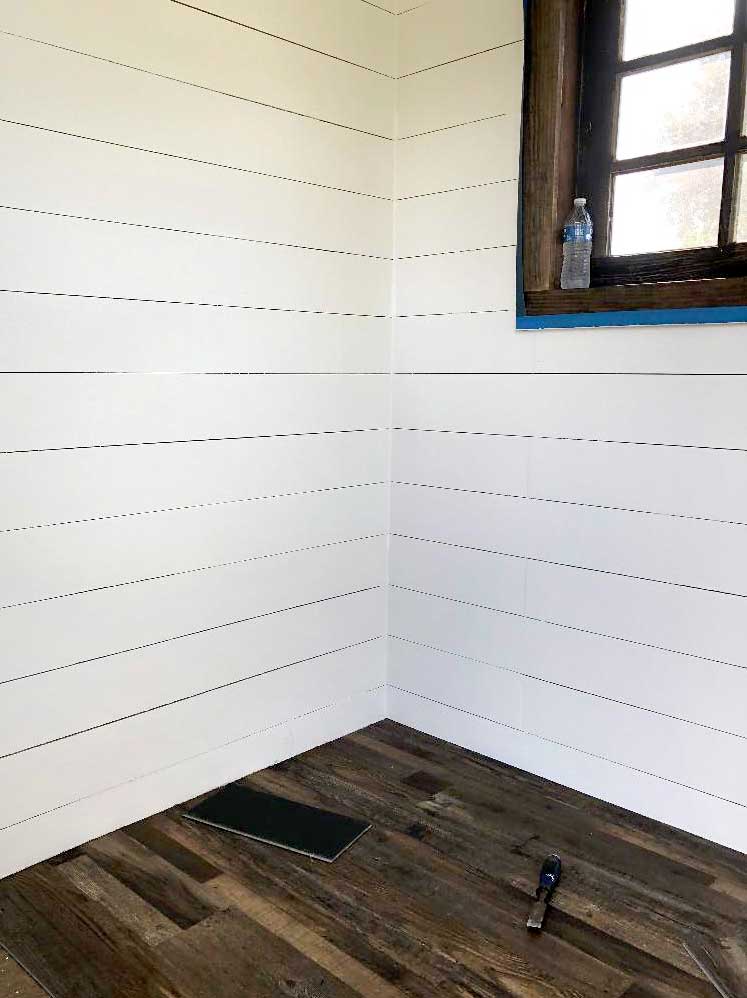
Now you have your own shiplap wall. I hope you have enjoyed this DIY. I would love to see your finished project. Take a picture and post it to our HL Raymond Properties FB page!
Comments are closed.
|
Categories
All
Archives
July 2024
|
Shoofly Magazine Partners
Our Shoofly Partners are local businesses and organizations who share our mission to enrich community life in Bay St. Louis, Waveland, Diamondhead and Pass Christian. These are limited in number to maximize visibility. Email us now to become a Shoofly Partner!







 RSS Feed


