DIY Diva Holly Lemoine-Raymond does it again! Read on and discover how she added curb appeal to her home and office.
Step 1
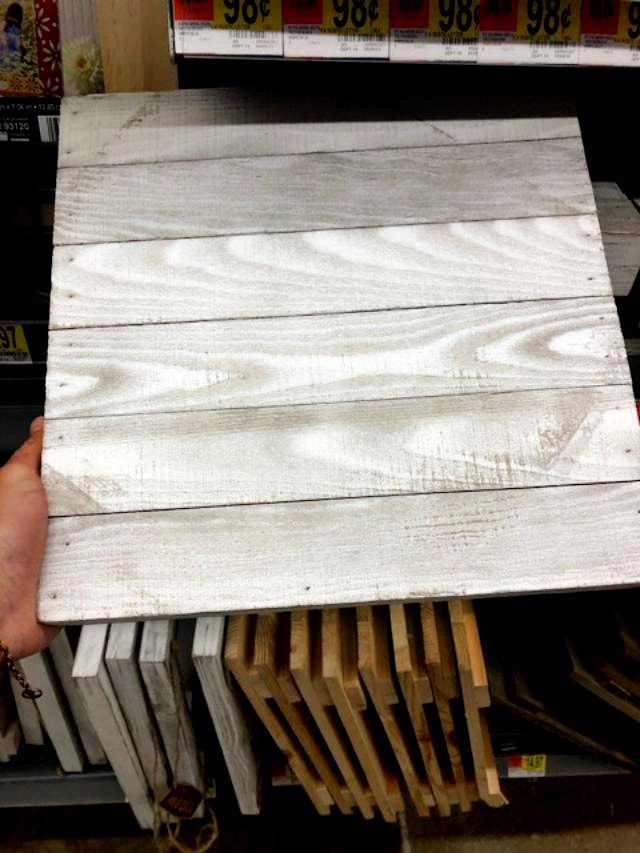
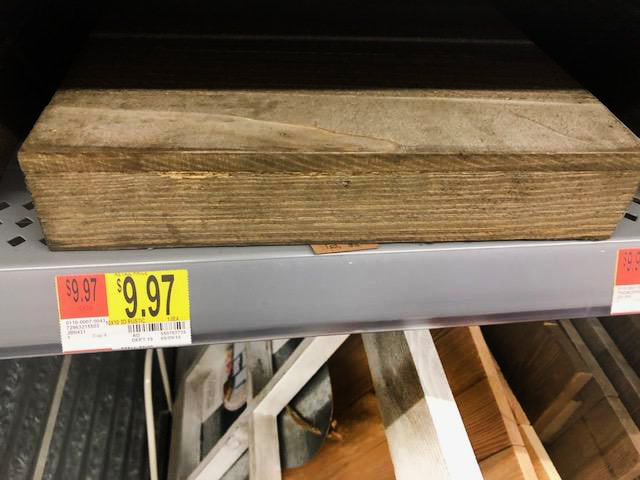
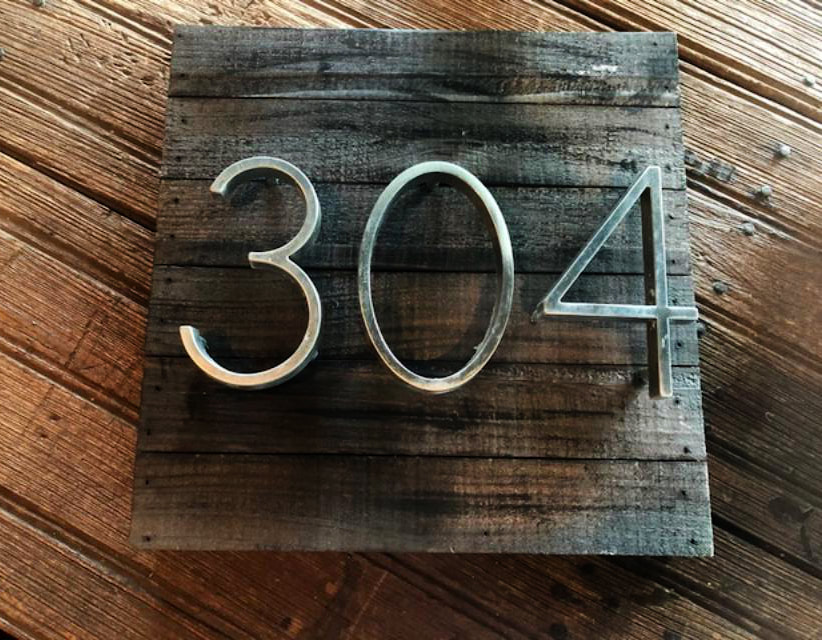
Assemble your wood. You know me and my recycling … I used pallet boards measuring 12 x 16 with large numbers. Depending on the size of the numbers and length of your address, you can adjust the size of your wood blocks.
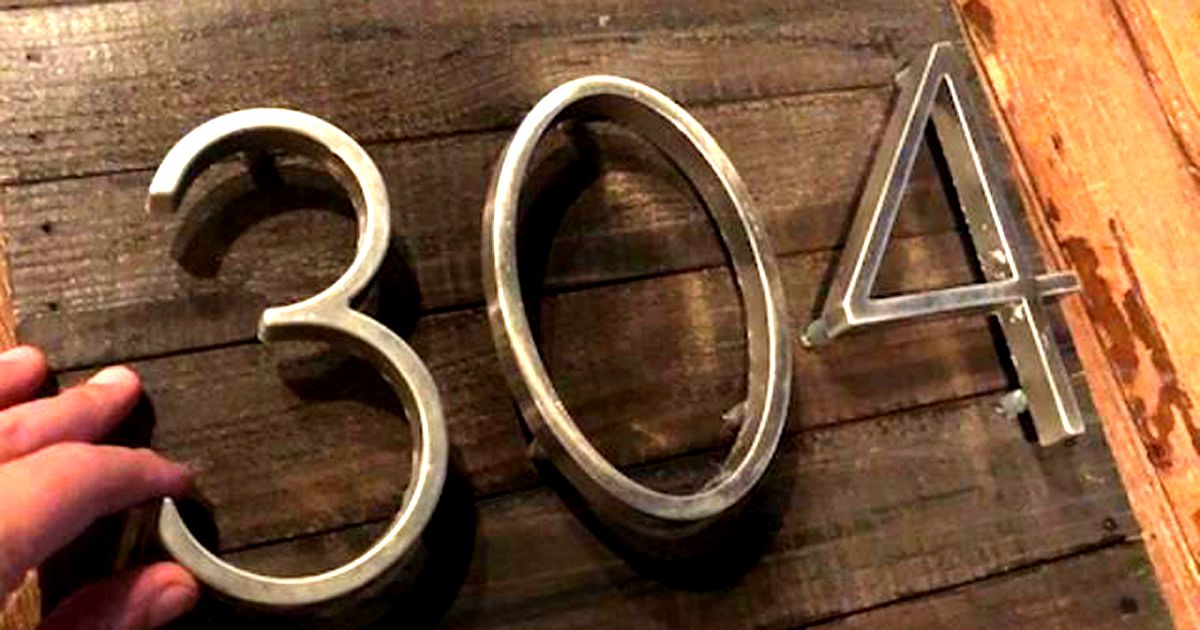
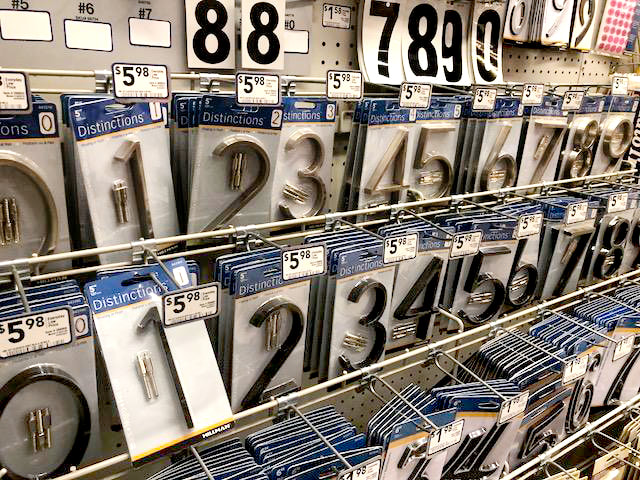
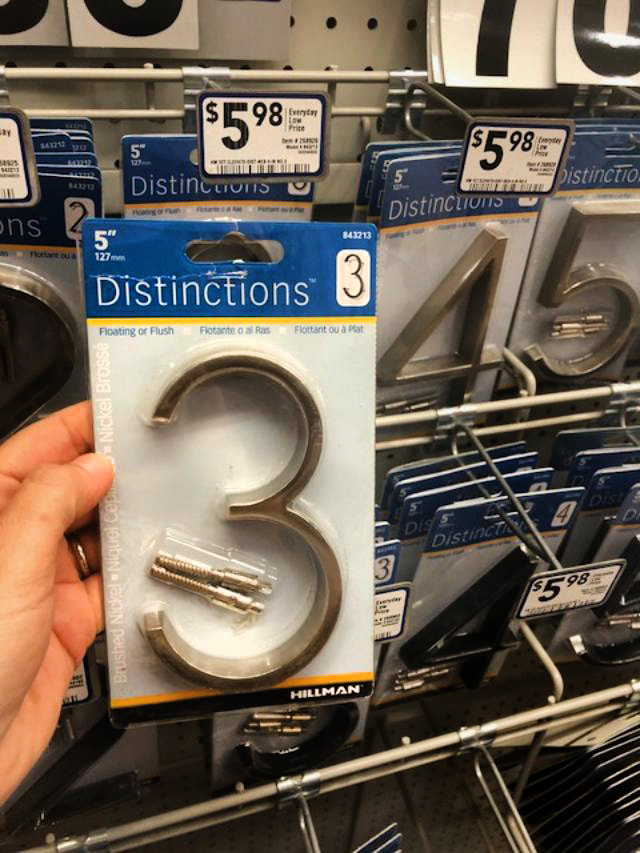
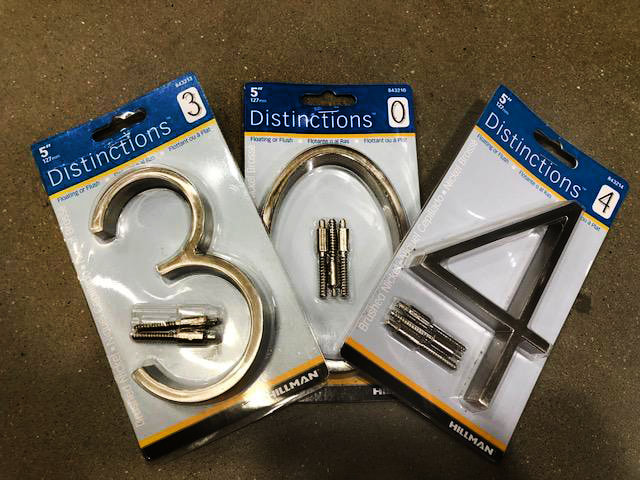
If you are not handy with a saw, you may want to buy your block from your local hardware store. See the pictures for some examples. Step 2
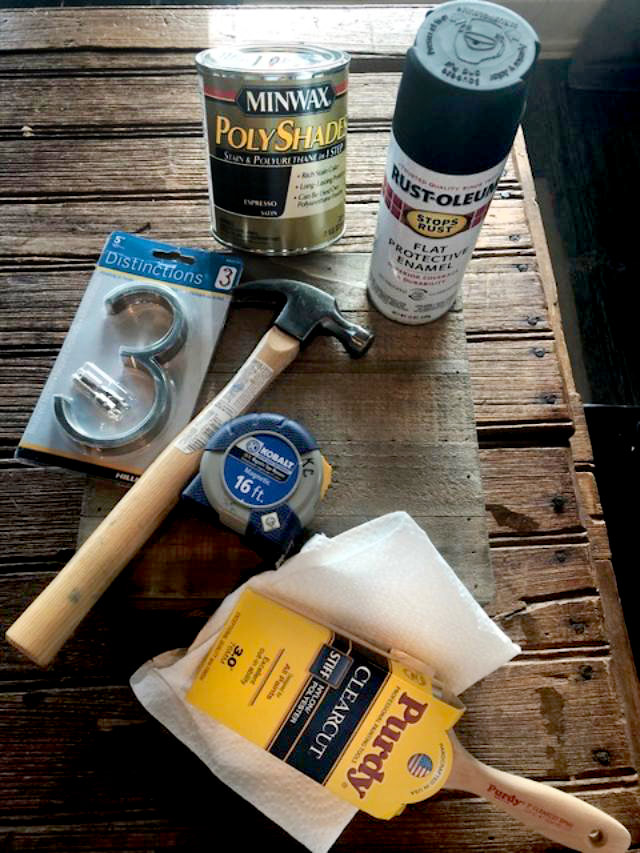
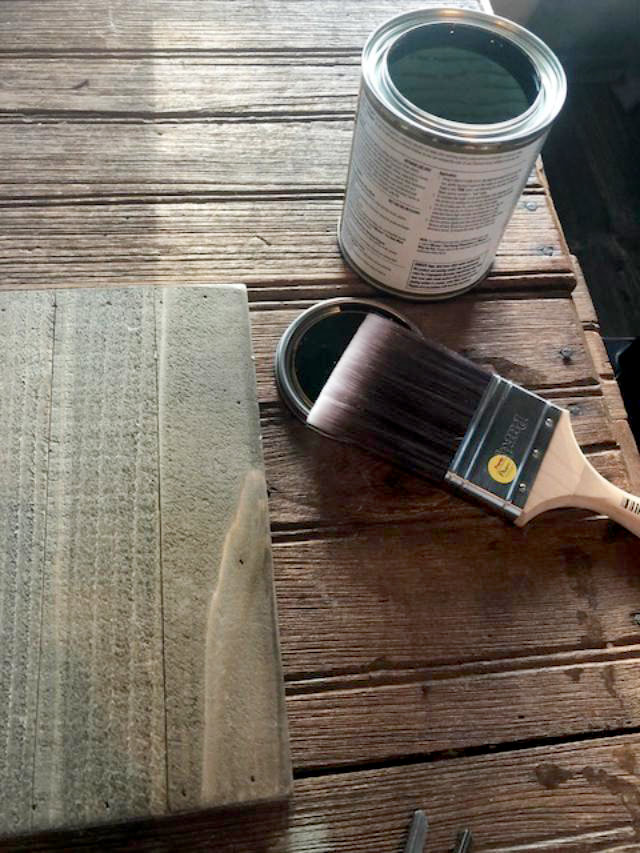
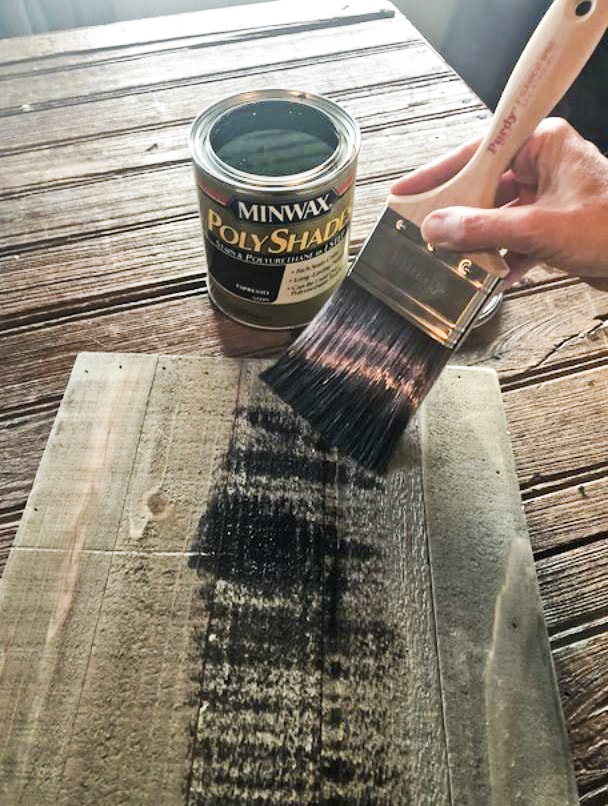
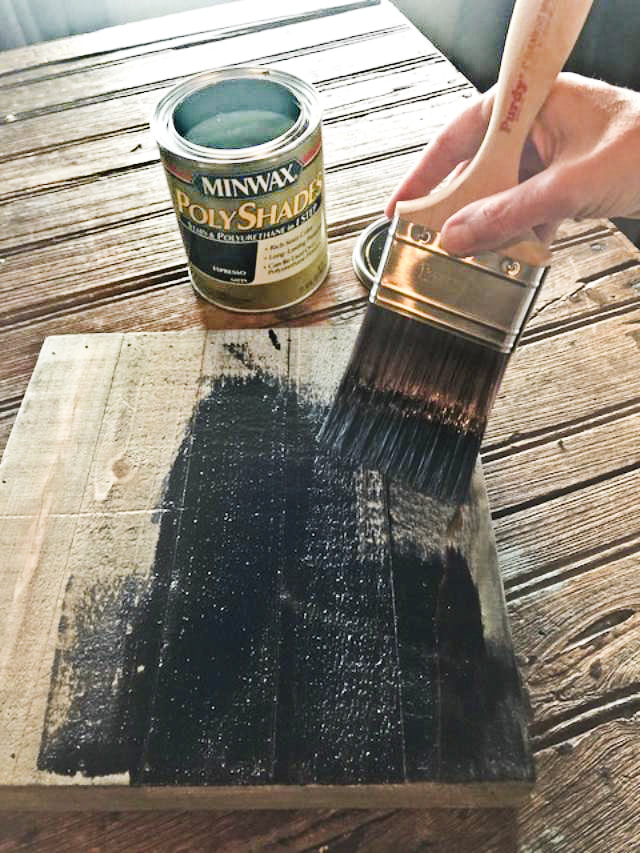
With your blocks assembled, it is time to stain your wood. I love to use Espresso. It gives the wood such a rich color, and if you are using nickel plated or a light colored number, the numbers will stand out more. Let the stain dry.
Step 3
Once your stain has dried, you can beat up your block to give it more of a rustic look. Just take a hammer and give a few hits to the wood. Another touch I like to add is to take the black spray enamel and spray it on a paper towel and rub it on the wood. This technique creates a “weathered” look. Plus, it brings out a little of the wood’s character.
Step 4
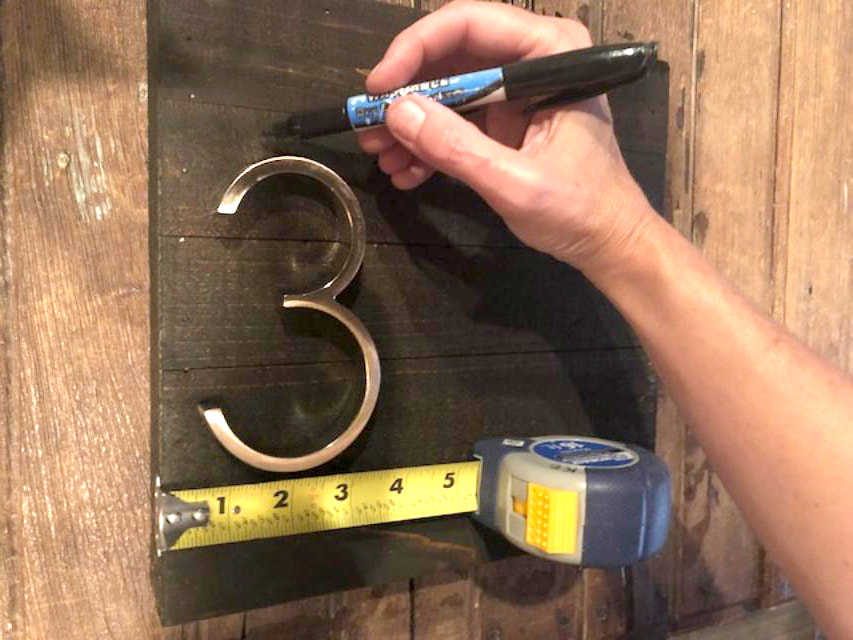
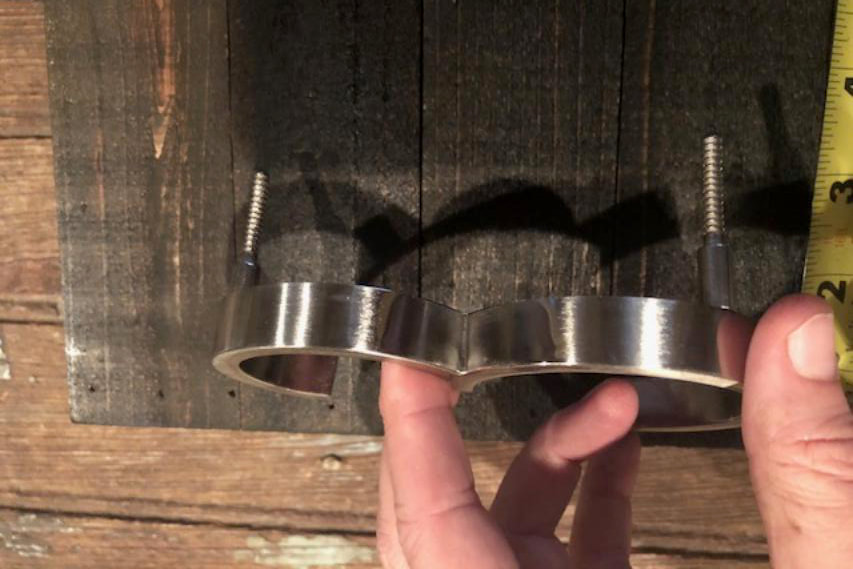
Now that your wood is stained and dried, it’s time to add the numbers. Using your tape measure, determine where you want your numbers to go. Measure twice to ensure the numbers are evenly spaced and mark the places your numbers will go.
Step 5
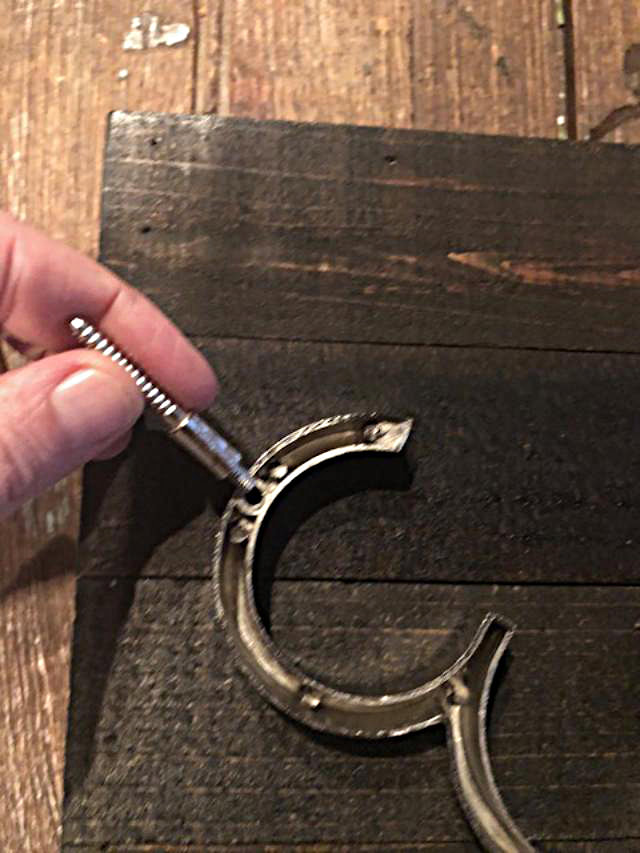
Using your hammer, drive the numbers in to the block of wood. Once all your numbers are in place, it’s time to hang your new Trendy Address Block to the front of your home or office.
Yes, it really is that simple. Now that you know how to add a little curb appeal to your home or office I would love to see your finished project! Go to my FB page (www.facebook.com/holly.lemoine) and upload a picture of your address block. I can’t wait to see what Beautiful Things you create! Comments are closed.
|
Categories
All
Archives
July 2024
|
Shoofly Magazine Partners
Our Shoofly Partners are local businesses and organizations who share our mission to enrich community life in Bay St. Louis, Waveland, Diamondhead and Pass Christian. These are limited in number to maximize visibility. Email us now to become a Shoofly Partner!
















 RSS Feed


