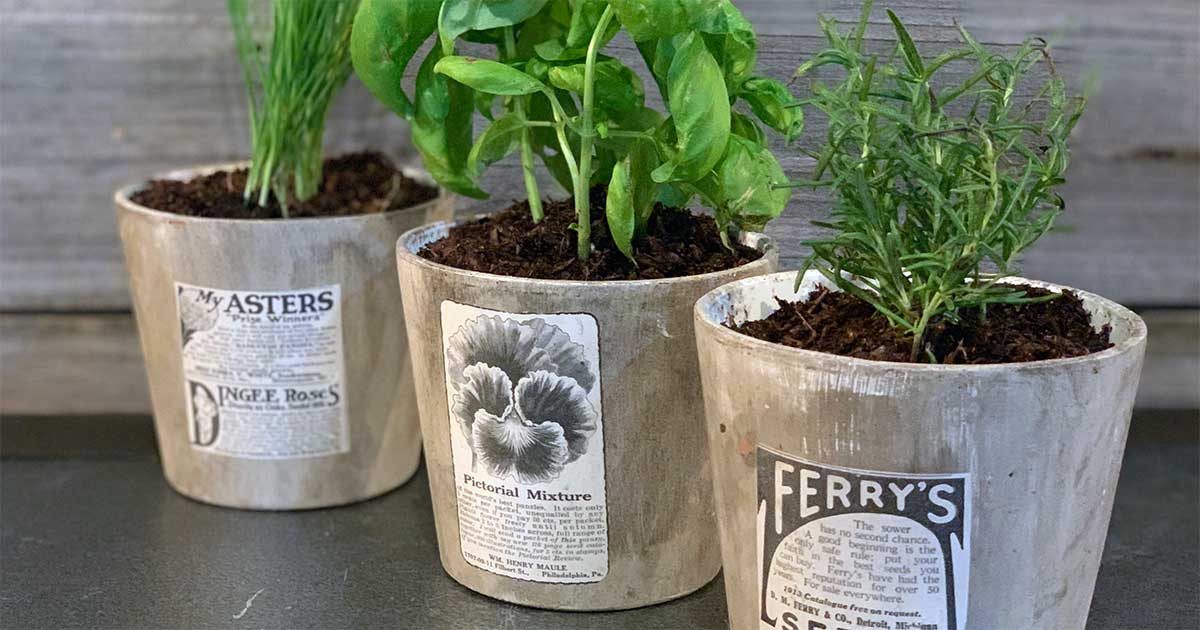
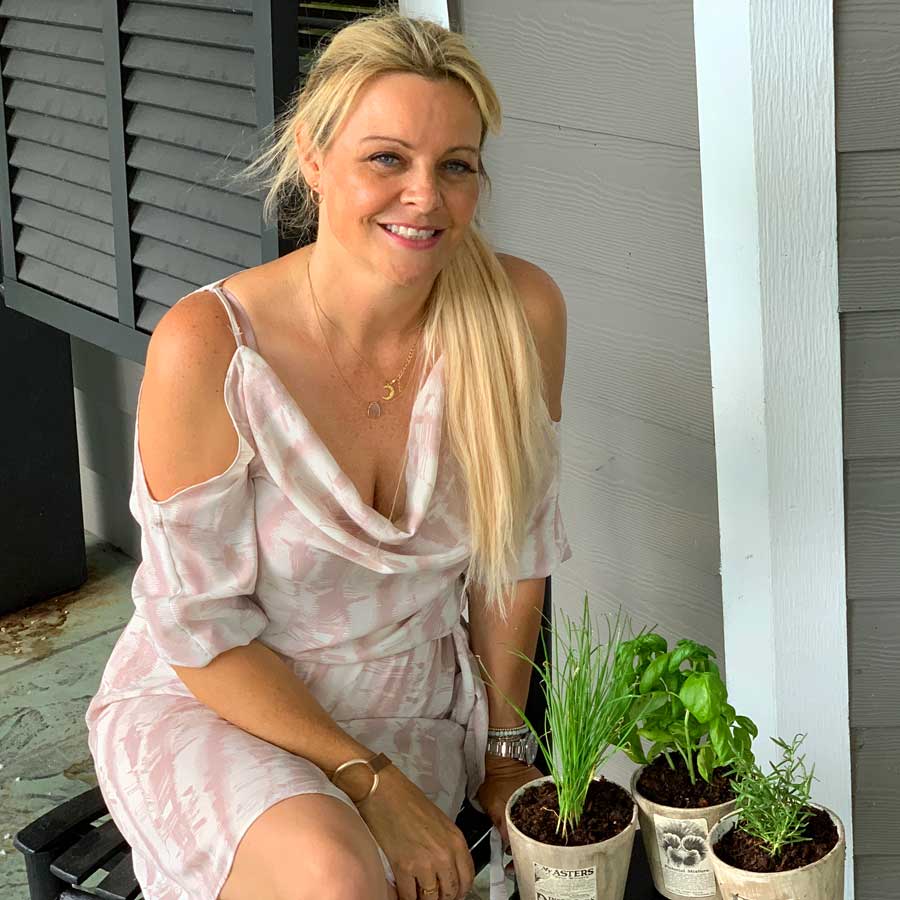
Our own DIY Diva shows us how to make these adorable planters, inspired by Peggy Branger from Antique Maison.
- story and photos by Holly Lemoine-Raymond
Instructions
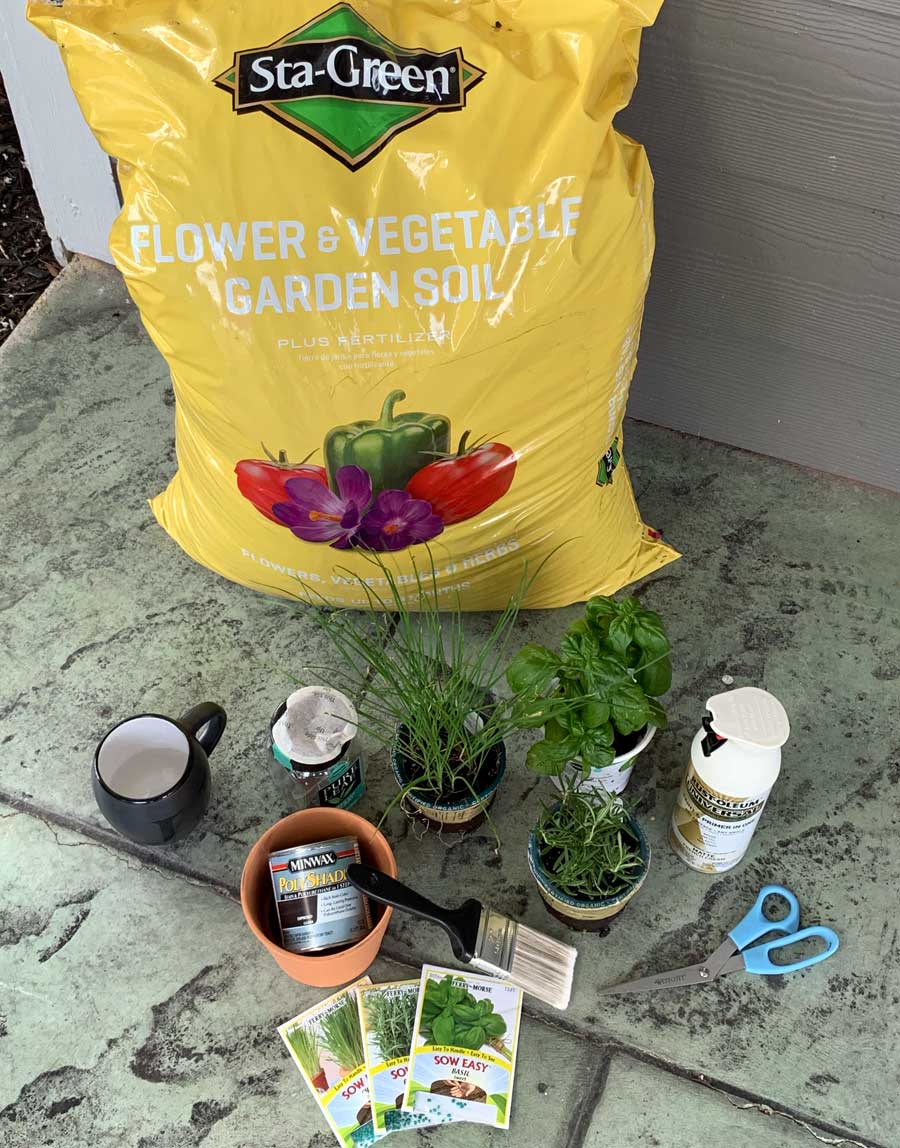
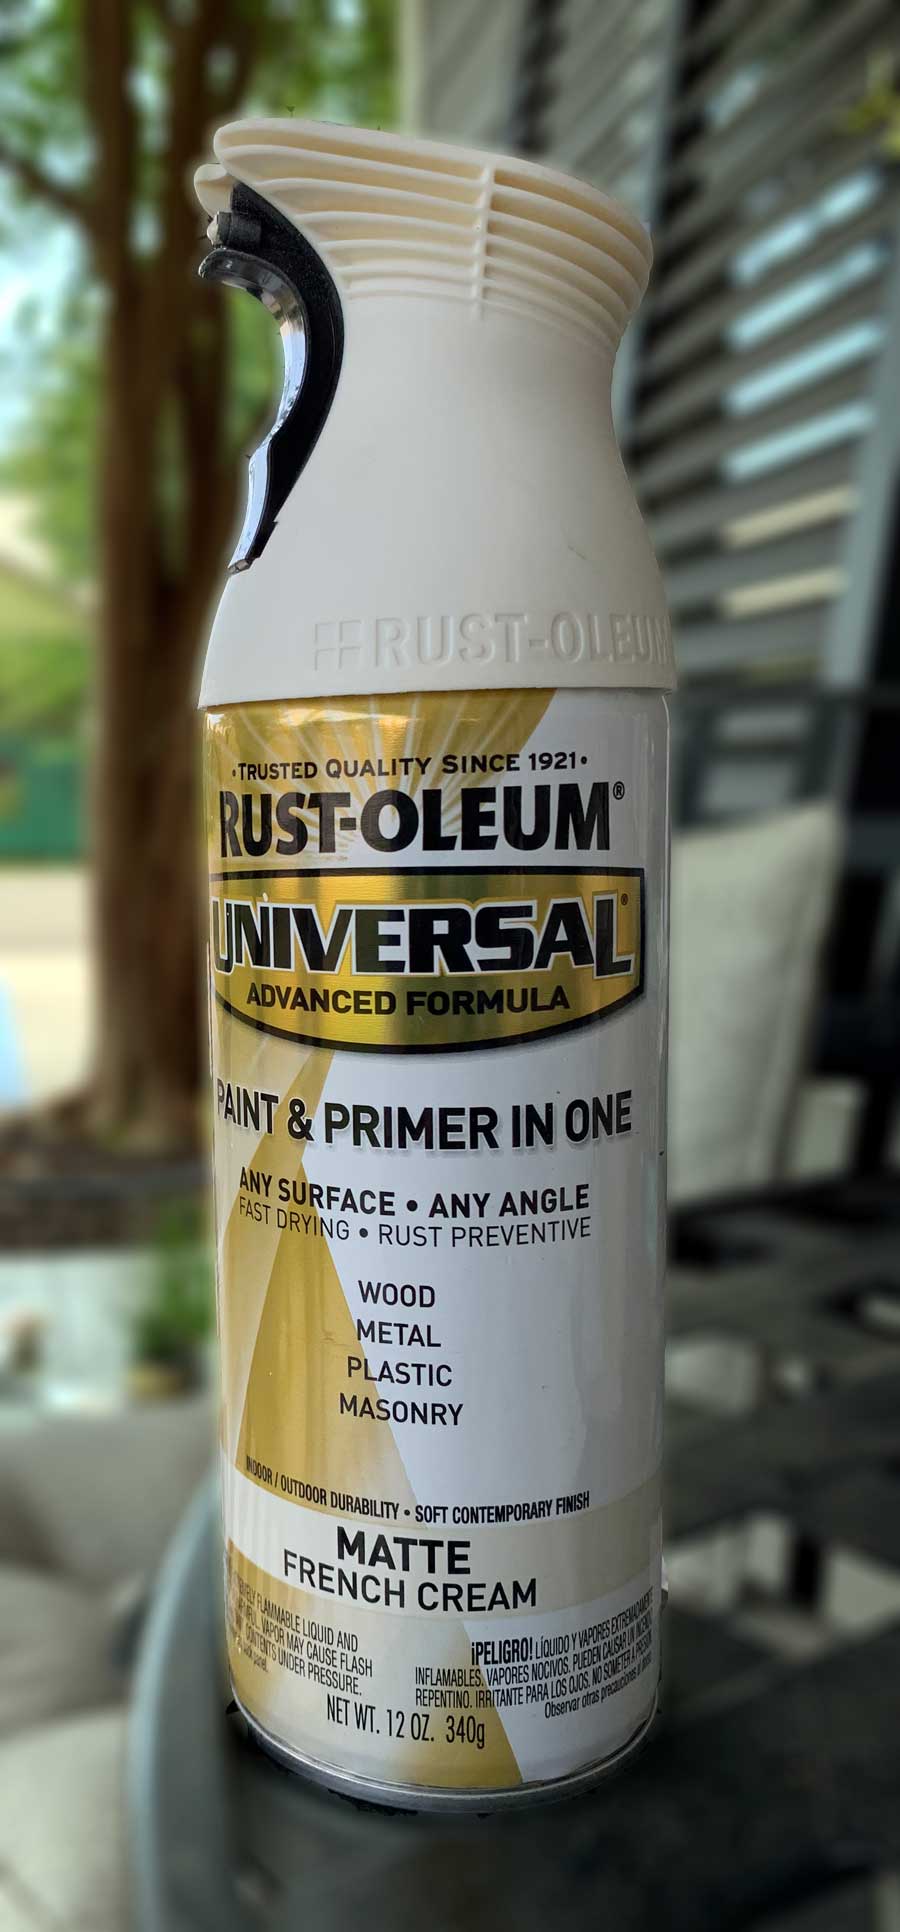
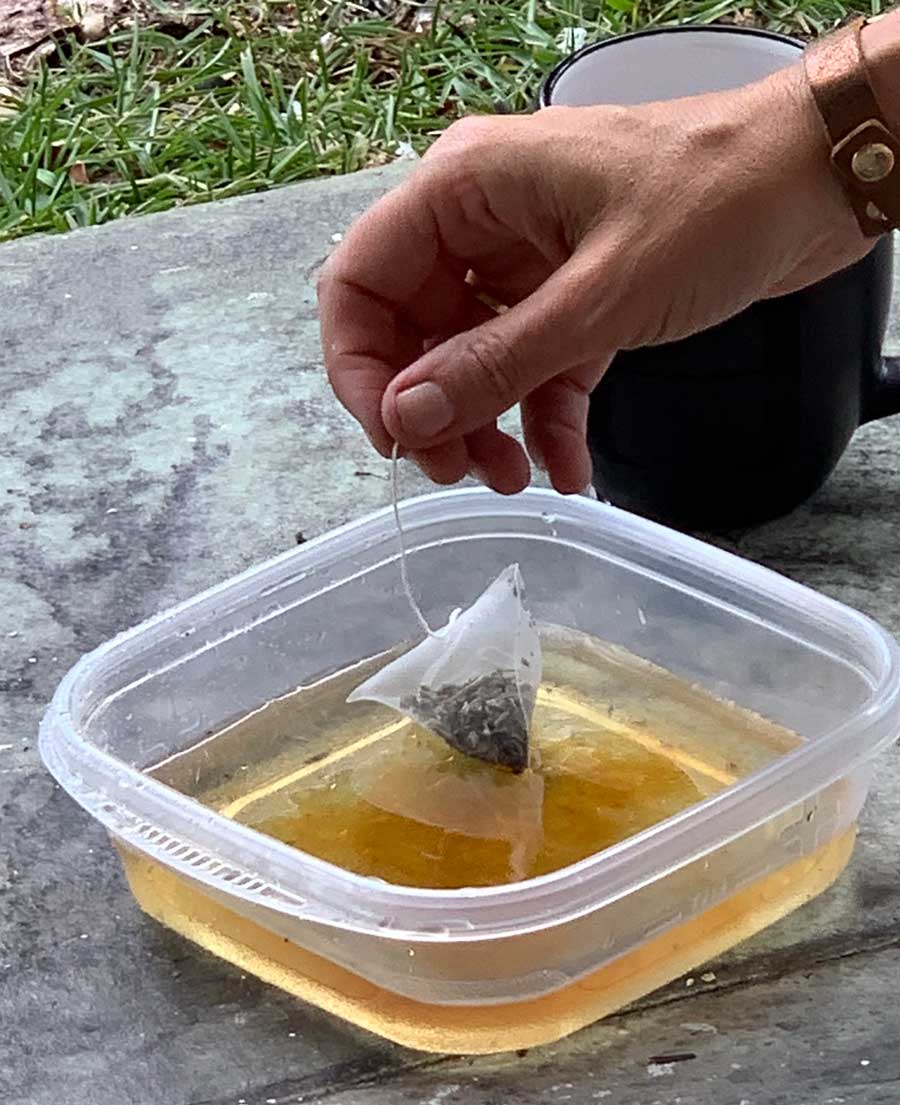
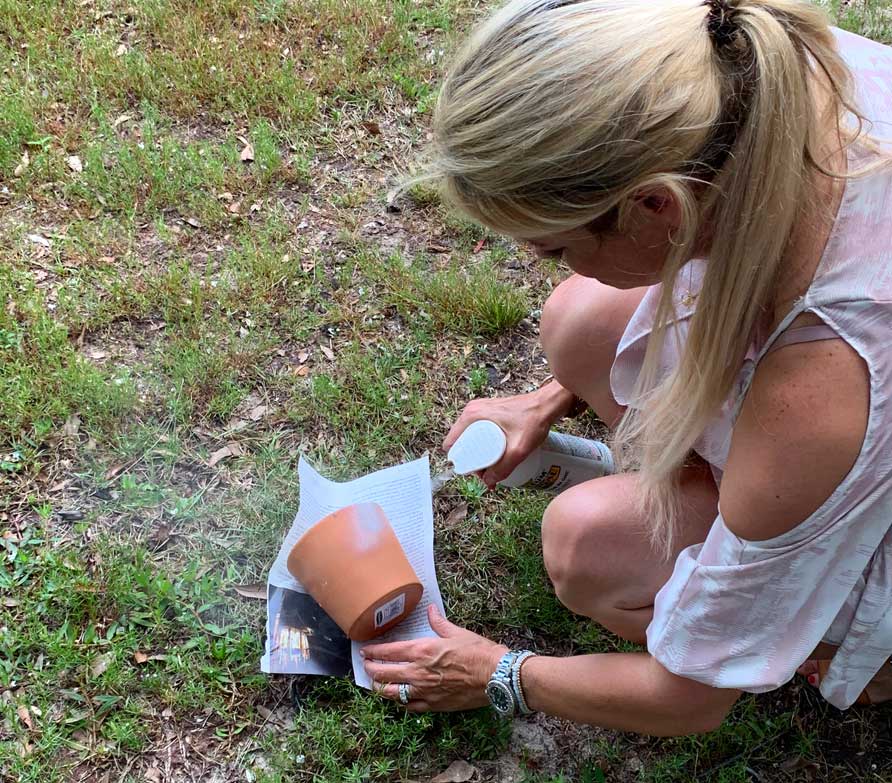
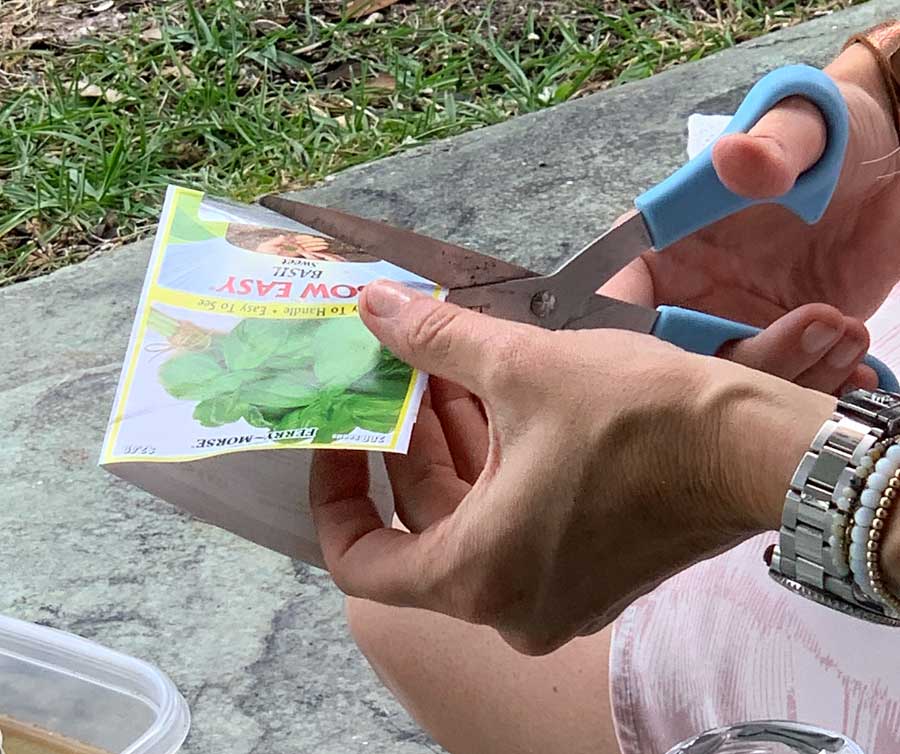
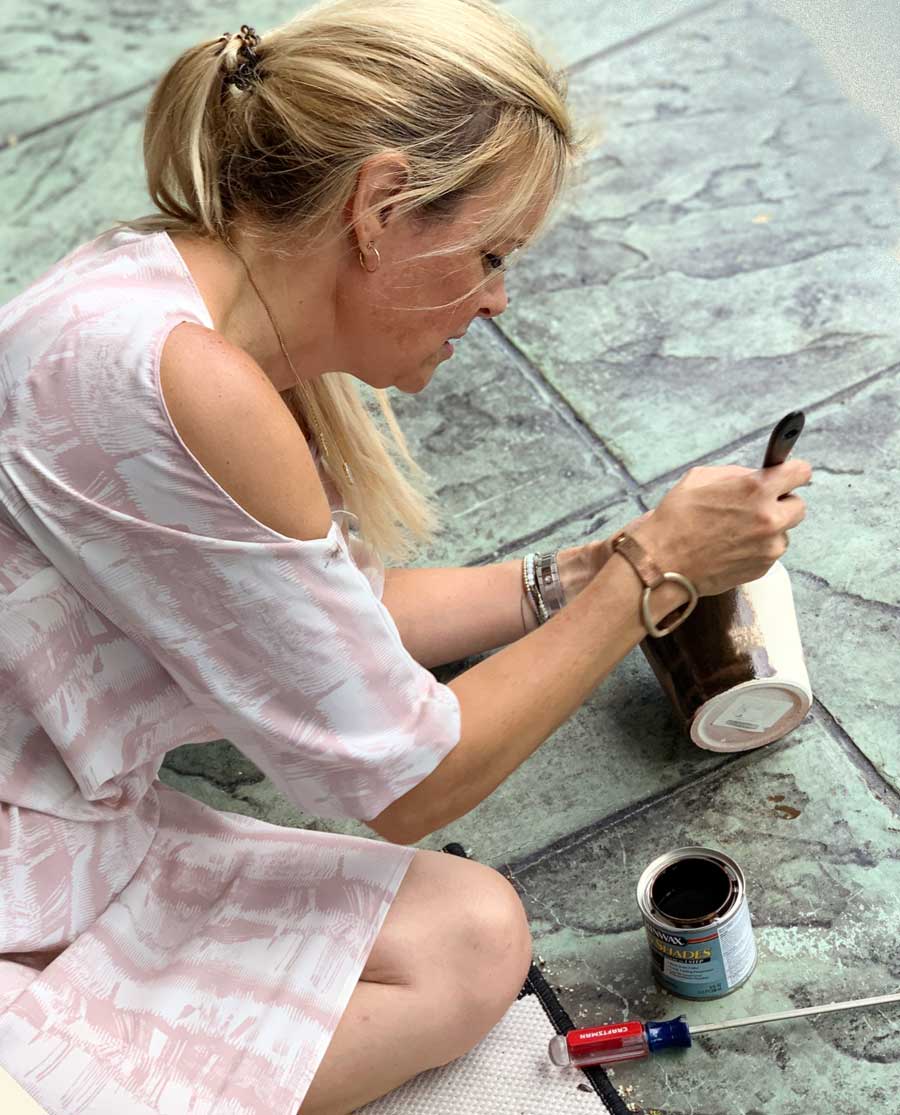
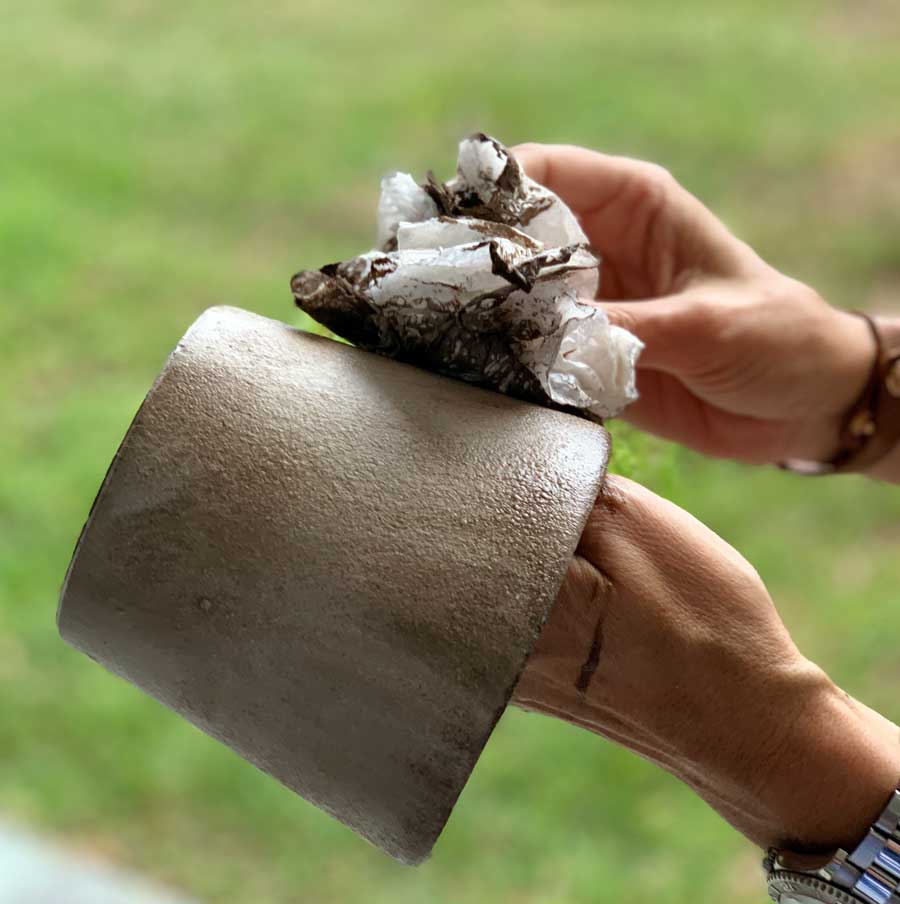
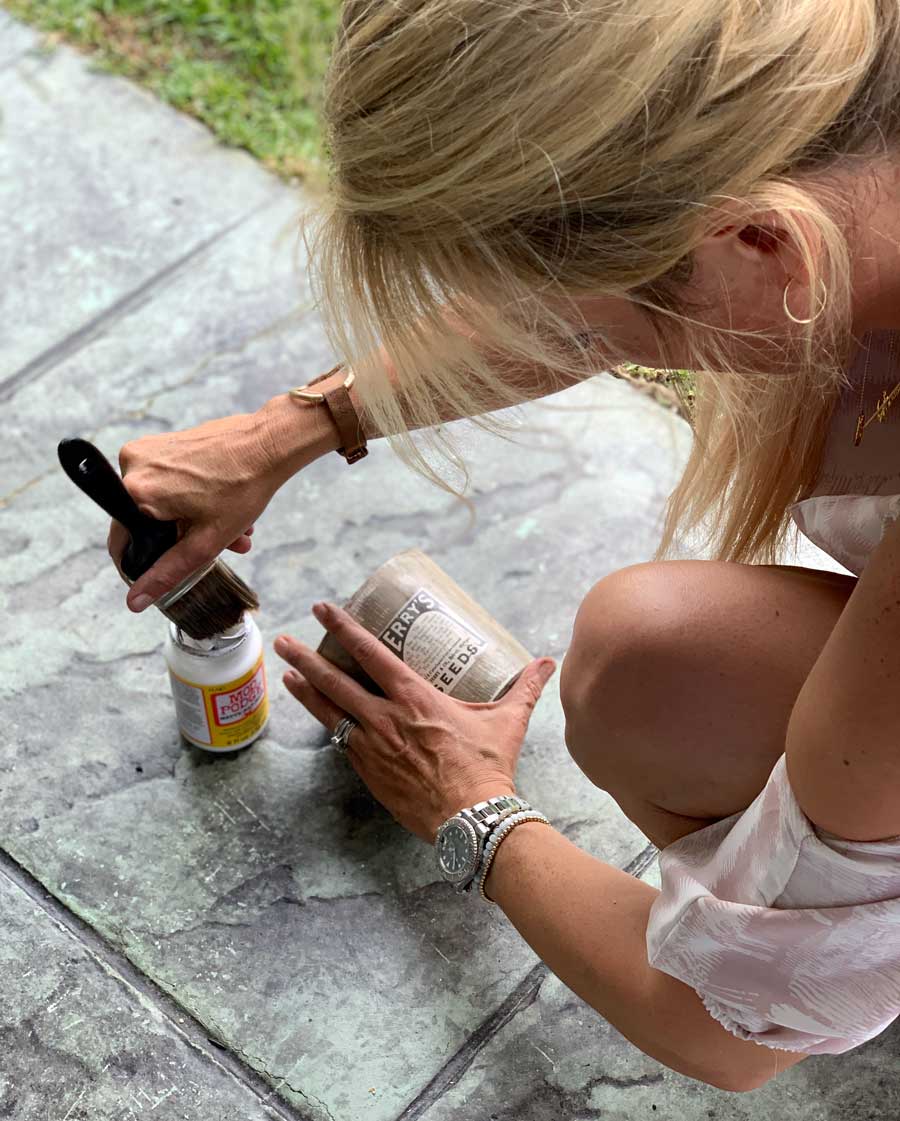
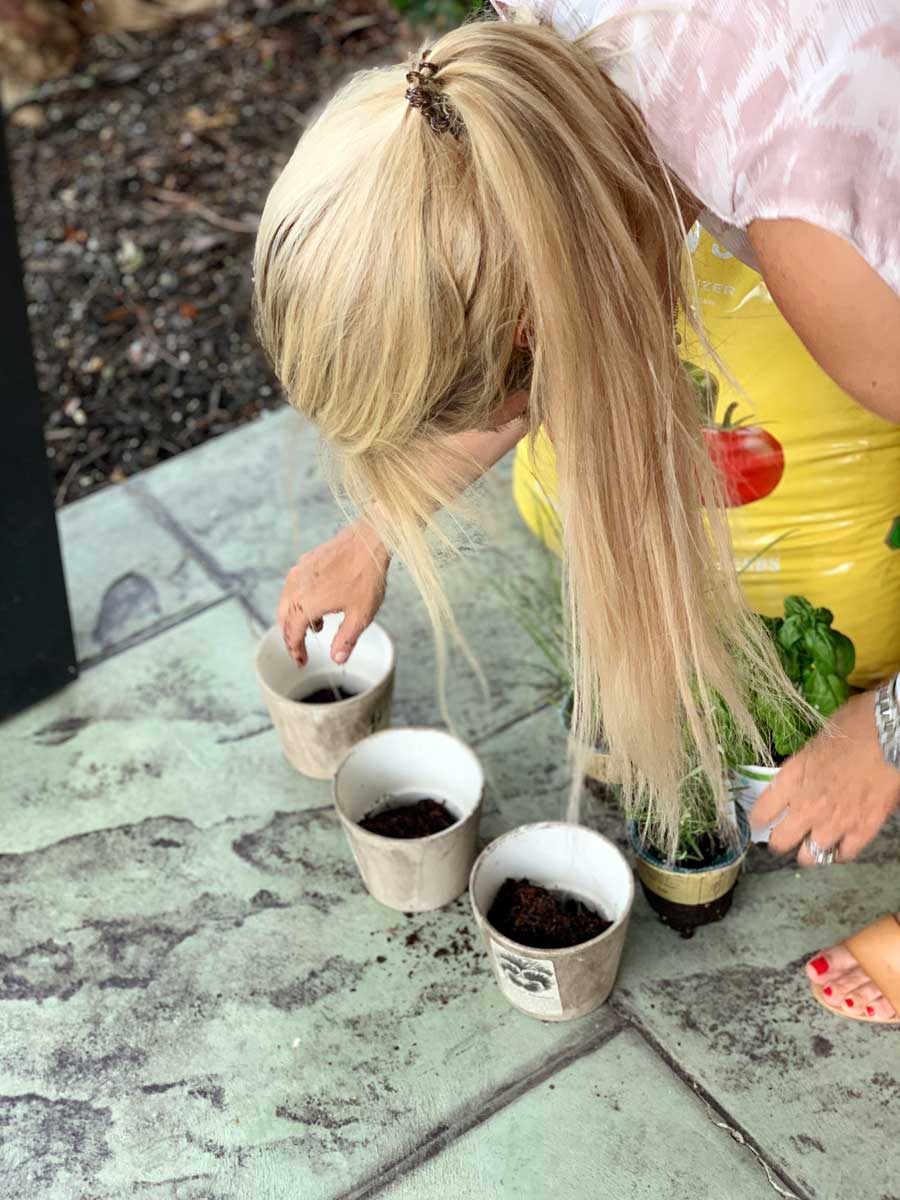
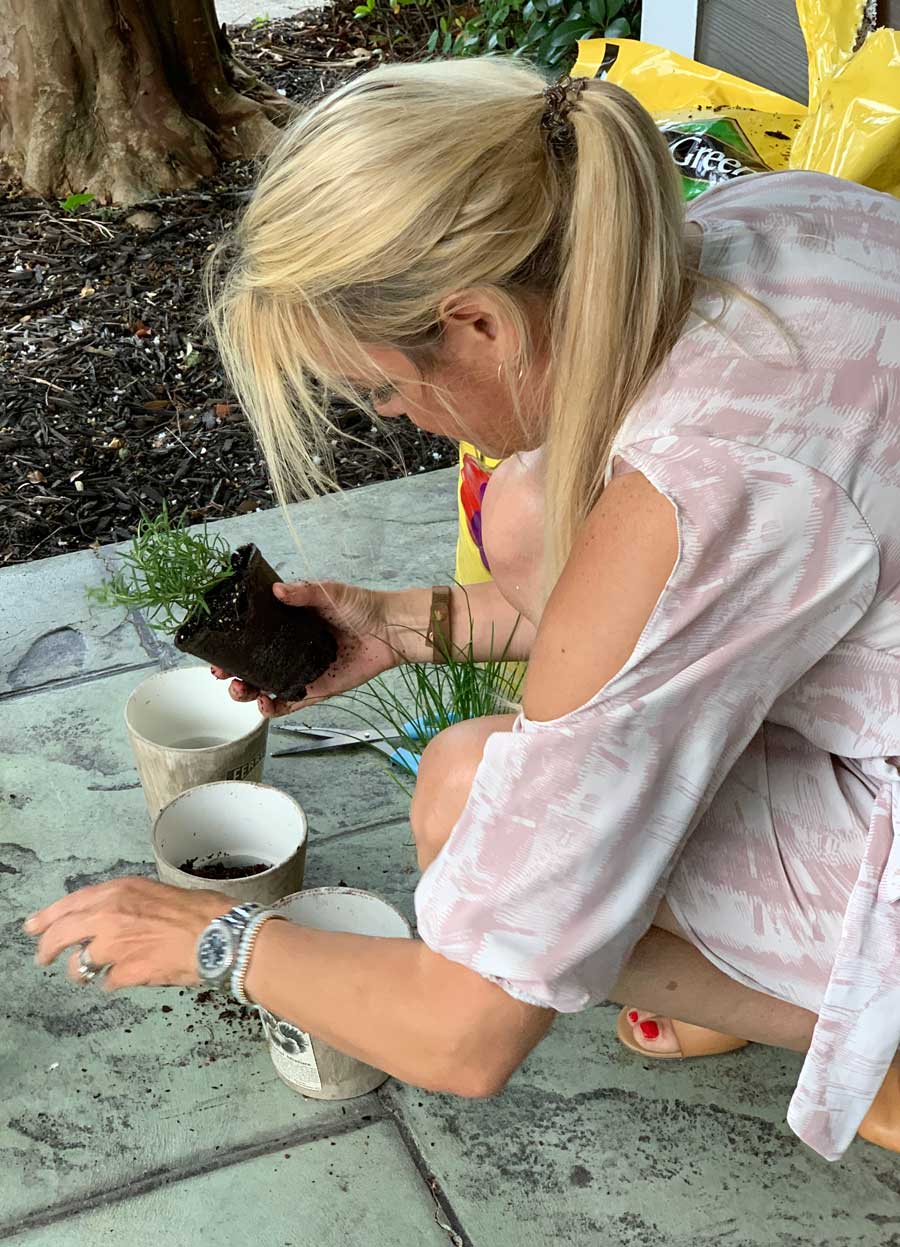
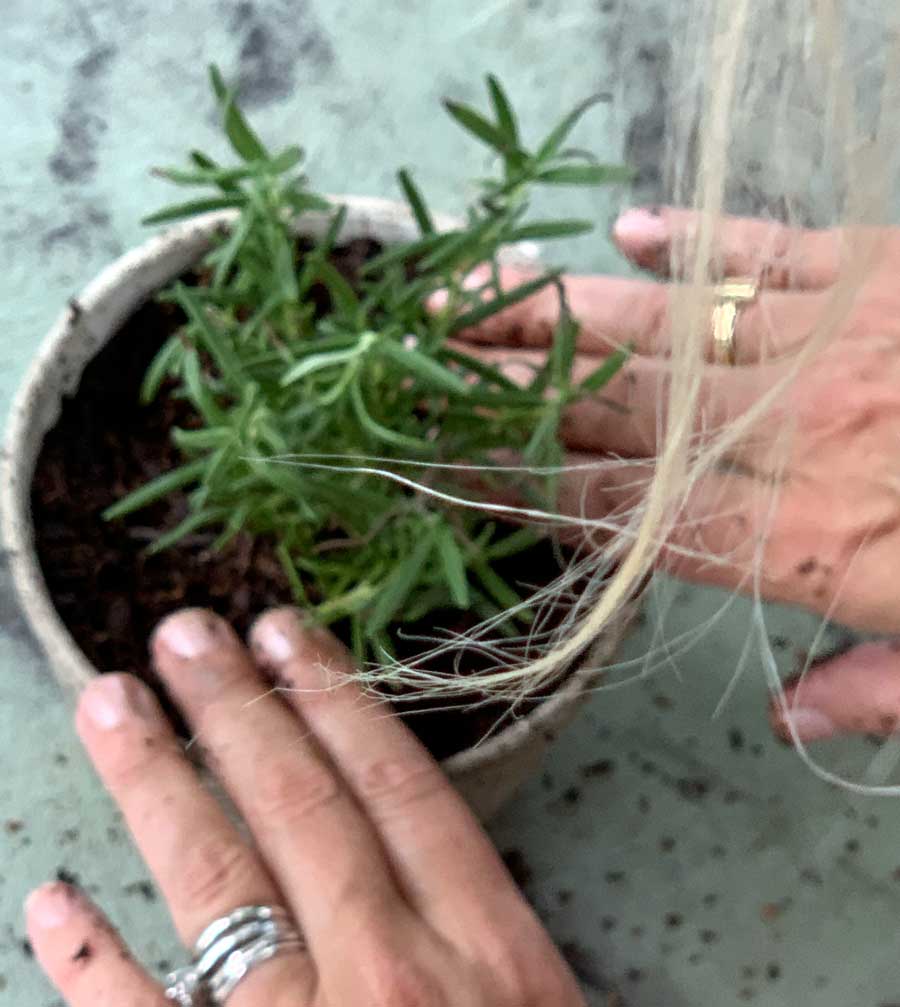
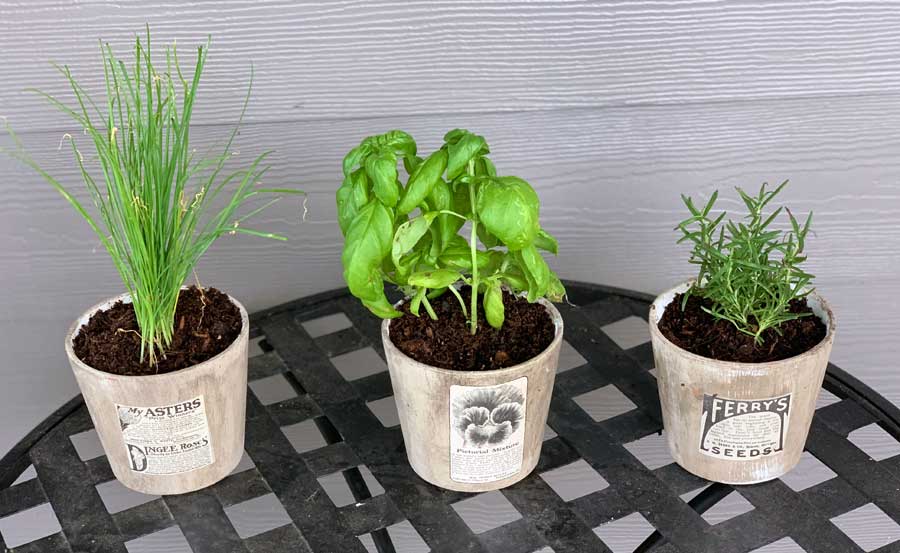
Step 1: Soak your tea bags or single-use coffee packs in water and let them sit. Step 2: While the tea bags are soaking, paint the pots and let them dry. I used Paint & Primer in One with a matte finish in French Cream. The Paint & Primer in One will give the pot a little texture. Step 3: With your scissors, cut the labels off the seed packets and soak them in the water with your tea or coffee bags. Step 4: Once the paint on the pots dries, use the paint brush to add your stain. Step 5: Do not let the stain dry. Use your rag or paper towel to wipe the stain until you have your desired look. You will be wiping most of the stain away. The texture from the paint & primer will help give the remaining stain depth. Step 6: Using a clean paint brush, apply a layer of Mod Podge to the pot where the seed label will go. Step 7: With the same paint brush, apply Mod Podge on the back of the label. Place the label on the pot where you applied the layer of Mod Podge and smooth it down. Allow the Mod Podge to dry for at least 15 to 20 minutes. Step 8: Now that your pot is decorated it’s time to add your herbs. I used Sweet Basil, Rosemary and Chives. Step 9: Once you have placed your herbs in the pots, you will need to add a bit of soil. For this project I used Flower & Garden Vegetable Soil. You won’t need much, just enough to fill in the pot. You could add one last touch by putting a matching saucer under your pots. Your herb garden is now ready for your kitchen window or counter, and you can enjoy fresh herbs all year around! Thanks for checking out Beautiful Things in the Shoofly Magazine! Comments are closed.
|
Categories
All
Archives
July 2024
|
Shoofly Magazine Partners
Our Shoofly Partners are local businesses and organizations who share our mission to enrich community life in Bay St. Louis, Waveland, Diamondhead and Pass Christian. These are limited in number to maximize visibility. Email us now to become a Shoofly Partner!














 RSS Feed


